b man b man
b manb manb manb manb man

Hello, what can we help you find?

Docly is a fully featured knowledge base theme for WordPress.

Check out our guide categories

Some dodgy chav bevvy amongst argy-bargy spiffing absolutely bladdered
nancy boy cup of tea a load of old tosh porkies.

Didn't find any Solution?

Loaded with awesome features like Documentation, Knowledgebase, Forum & more!

Online Documentation

Horse play barmy Oxford bonnet are you taking the piss cheeky mufty nice one young delinquent.

Online Documentation

Horse play barmy Oxford bonnet are you taking the piss cheeky mufty nice one young delinquent.

WaveWave
354

Global Customer

645

Global Customer

478

Global Customer

546

Global Customer

Tips & tricks

Creating the "Be Right Back" Scene

With Streamster, you can use GIF and JPG files as layers to set them up as “Be right back“, “Starting soon“, “End stream” or similar scenes.

Step 1. Create your “Be right back” background. We recommend using video or graphic design services like Canva. Save it as a GIF file. If you already have the scene as a video (MP4, MOV, etc.) use the online converter (like this one) to transform it into a GIF.

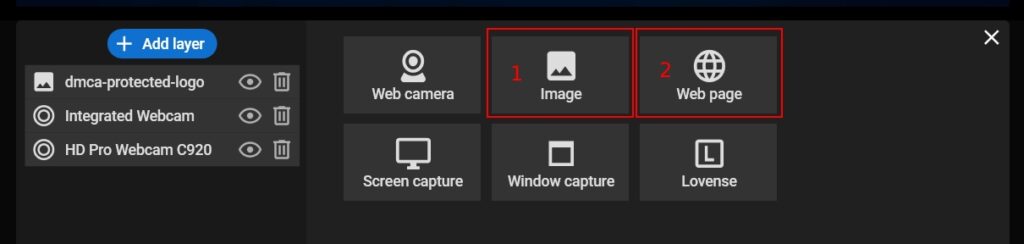
Step 2. Add the new layer to your stream scene in the Streamster desktop app. Select the “Image” button (1) for .jpg image files or the “Web page” button (2) for .gif files. If needed, read more articles:

How to set up a scene

How to add a GIF layer to your scene

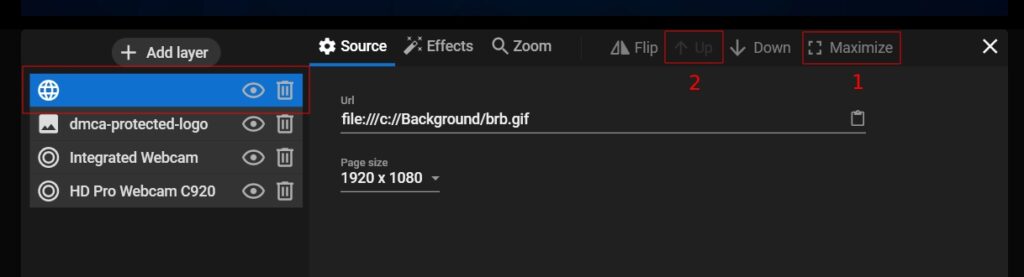
Step 3. Click the “Maximize” button (1) to stretch your layer to full screen. Ensure that your “Be right back” layer is always on top of other layers. Otherwise, use the “Up” button (2) to bring it forward.

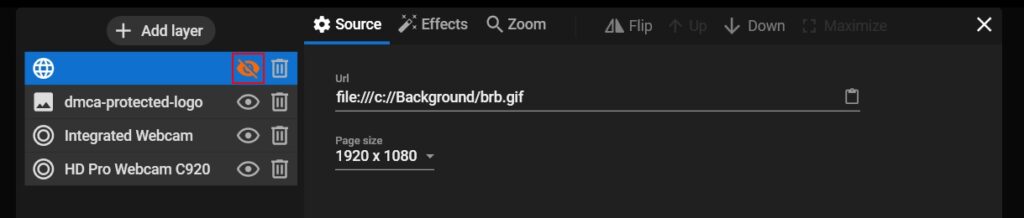
Step 4. Make the layer invisible.

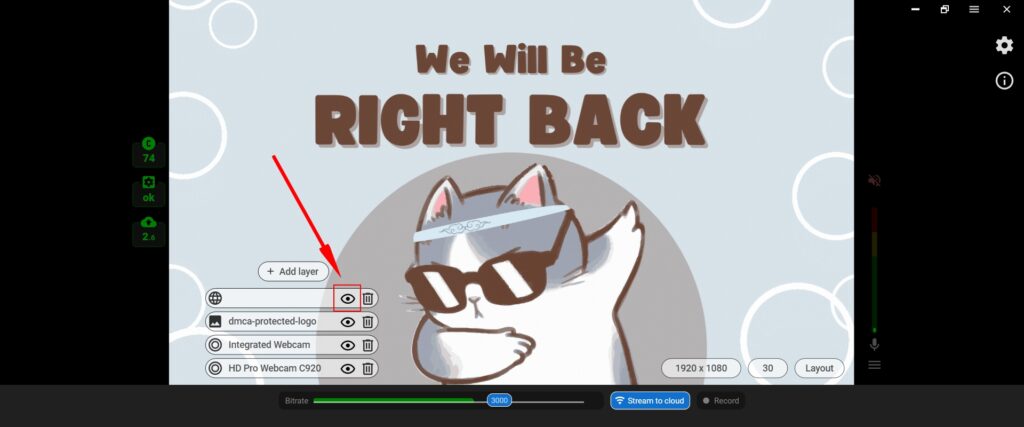
Step 5.Once you need to show your “Be right back” scene to viewers, hover your mouse on the video preview and make the layer visible.

Share this Doc

Creating the "Be Right Back" Scene

Or copy link

CONTENTS