
Setting Up a Scene
Step 1. By default, when you launch the app for the first time, your web camera is selected as a video source if at least one camera is connected. If you need to change the source or choose a different camera, click the “Layers” tab.

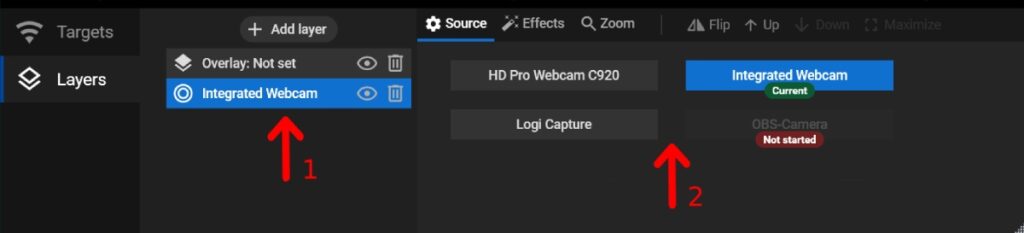
(optional) Step 2 – case A. If you want to use a different web camera, select your current camera (1) and choose another device from the list on the right (2).
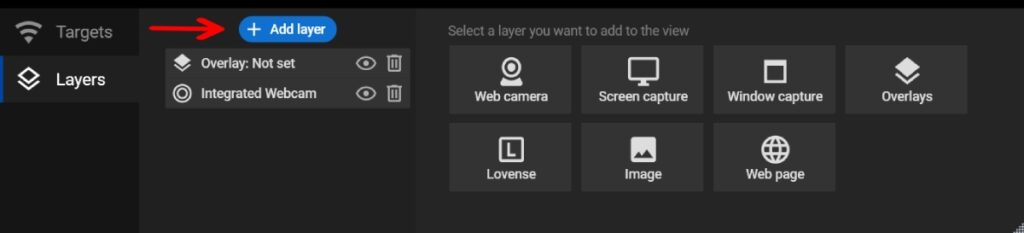
(optional) Step 2 – case B. If you want to use multiple web cameras simultaneously or add more layers to your webcam stream, click the “+ Add Layer” button and select the desired video source. Add multiple video sources if needed: Add the watermark, create additional screens, customize your video with GIFs, etc.
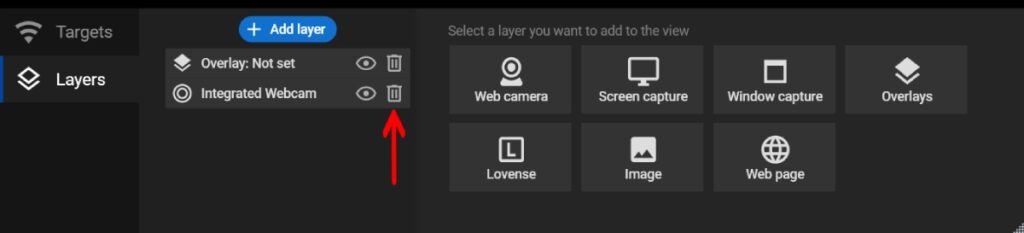
(optional) Step 2 – case C. If you don’t want to use a web camera as your video source, you can remove it from your scene.
(optional) Step 3. Customize your video source. Set up video filters (1), use zoom (2), change layers order (3), etc.

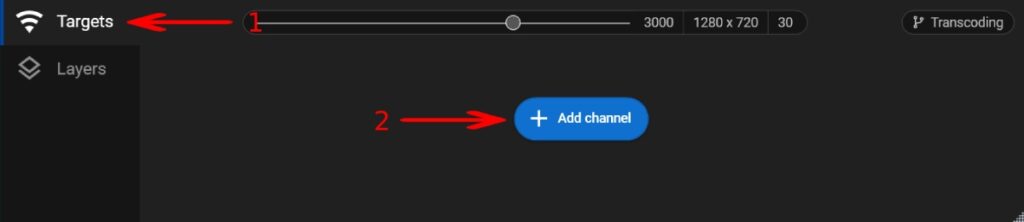
Step 4. Once video sources set, go back to the “Targets” tab (1) and click the “Add channel” button (2) to set up your first streaming target.