
Features
Video Filters
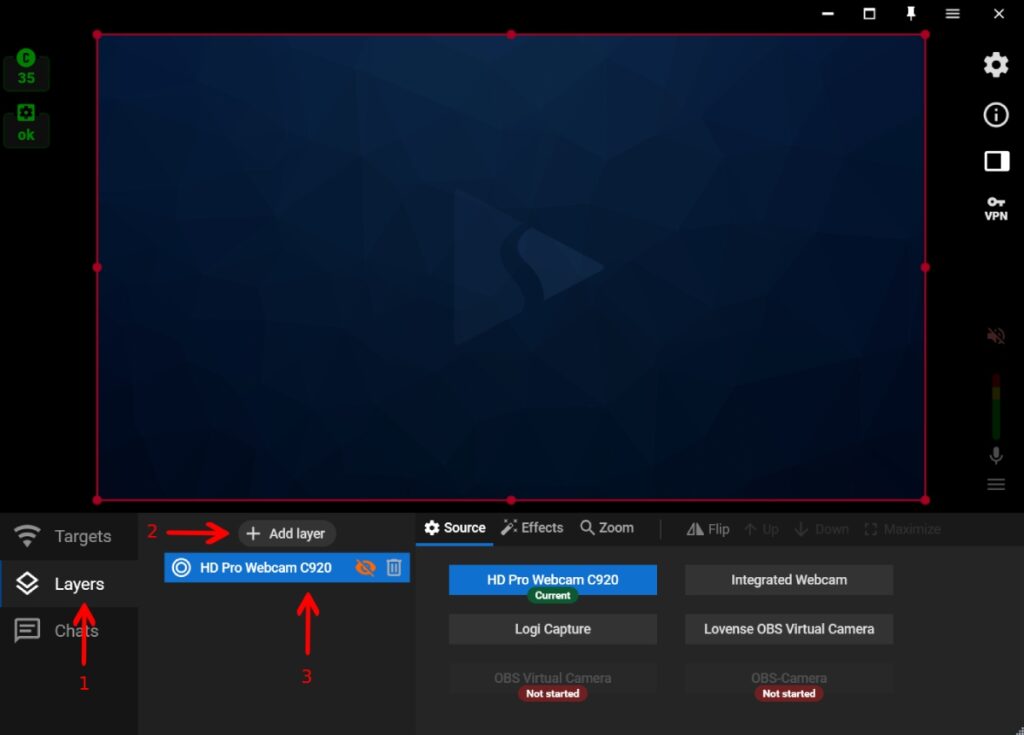
1. Open the “Layers” tab (1). Create a new layer by clicking the “+ Add layer” button (2) or select one of your existing web camera layers (3).
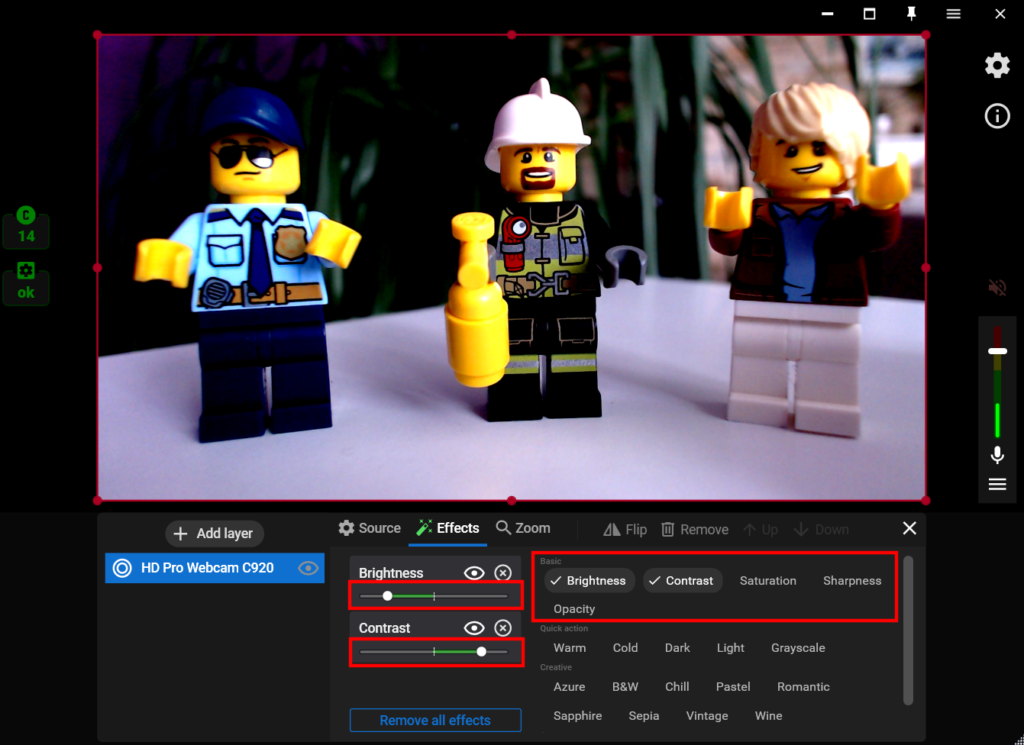
2. Click the “Effects” tab to see the list of available filters.
3.1. Select one of the basic filters to change the levels of Brightness, Contrast, Saturation, Sharpness, and Opacity.
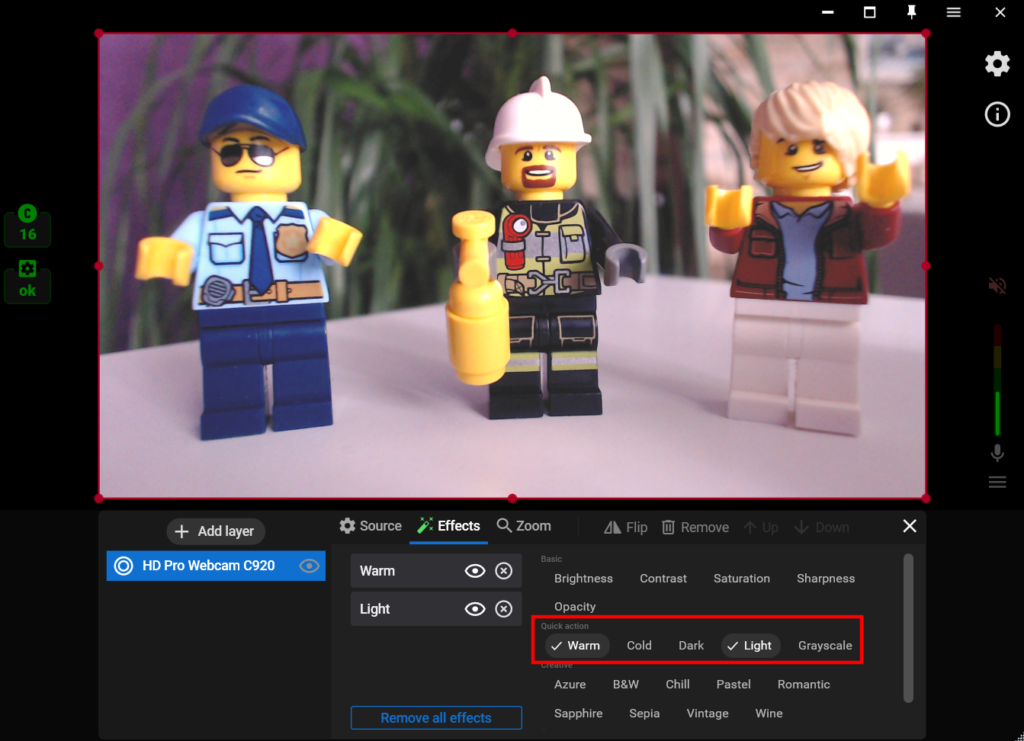
3.2. Select one of the quick action filters to make your video warmer / colder / darker or lighter.
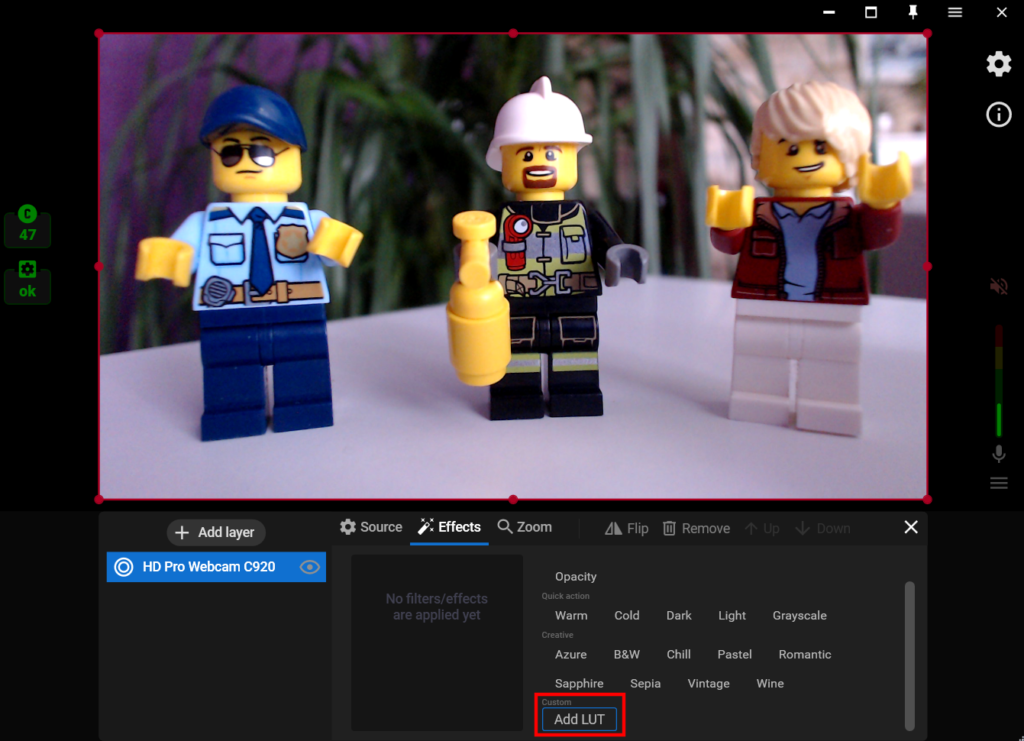
3.3. Choose one of the preload Streamster LUT filters. Change filter opacity if needed.
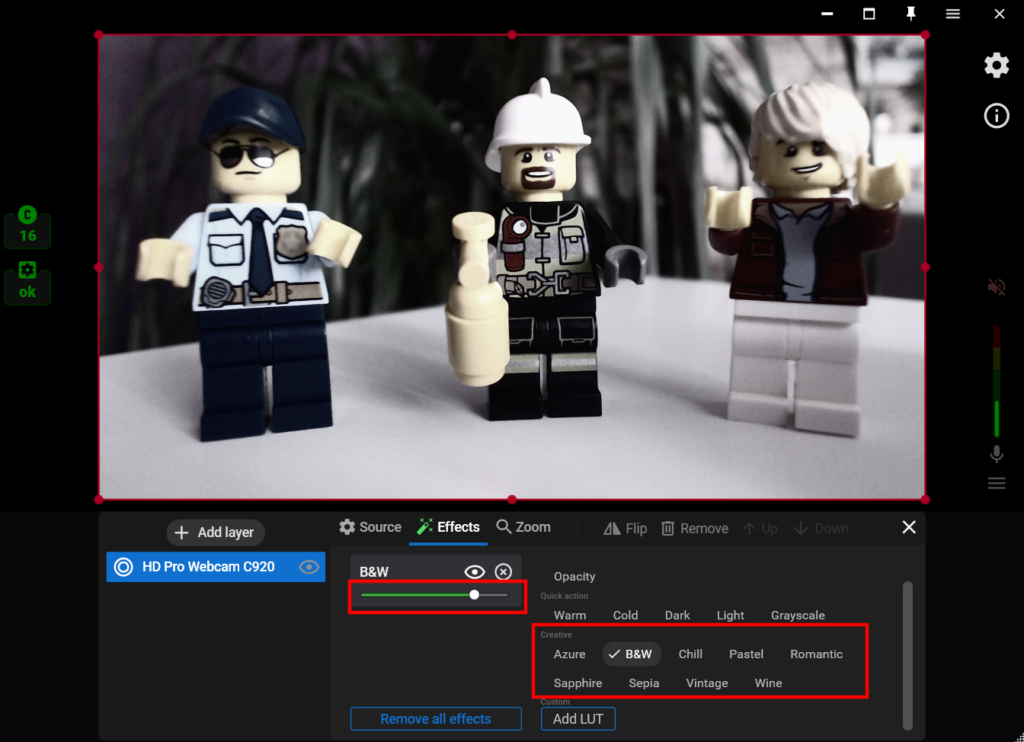
3.4. Upload your custom LUT filter in *PNG or *CUBE format by clicking the “Add LUT” button.