
Desktop app | YouTube channel
Method 1. Setting up a YouTube channel manually
1.1. Setting up an external encoder on YouTube
Step 1. Log in to your YouTube account.
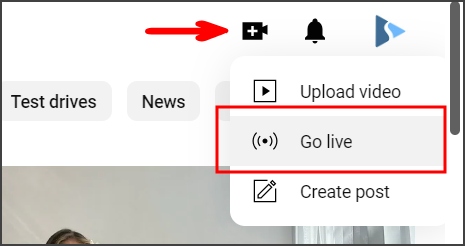
Step 2. Click the “Create” – “Go Live” button in the upper right corner of the website.
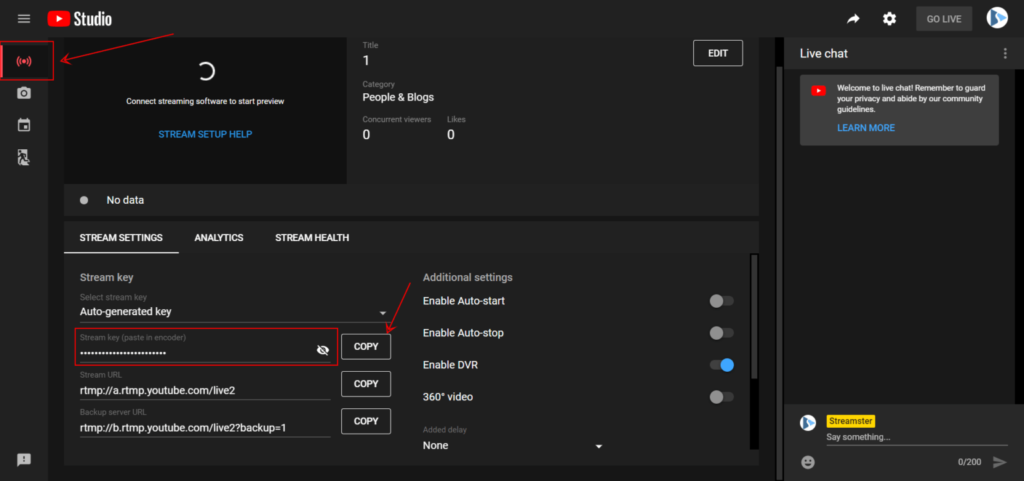
Step 3. Select the “Stream” tab and copy the “Stream Key” input.
1.2. Setting up YouTube channel in the Streamster app
Step 4. Click the “Add channel” button.

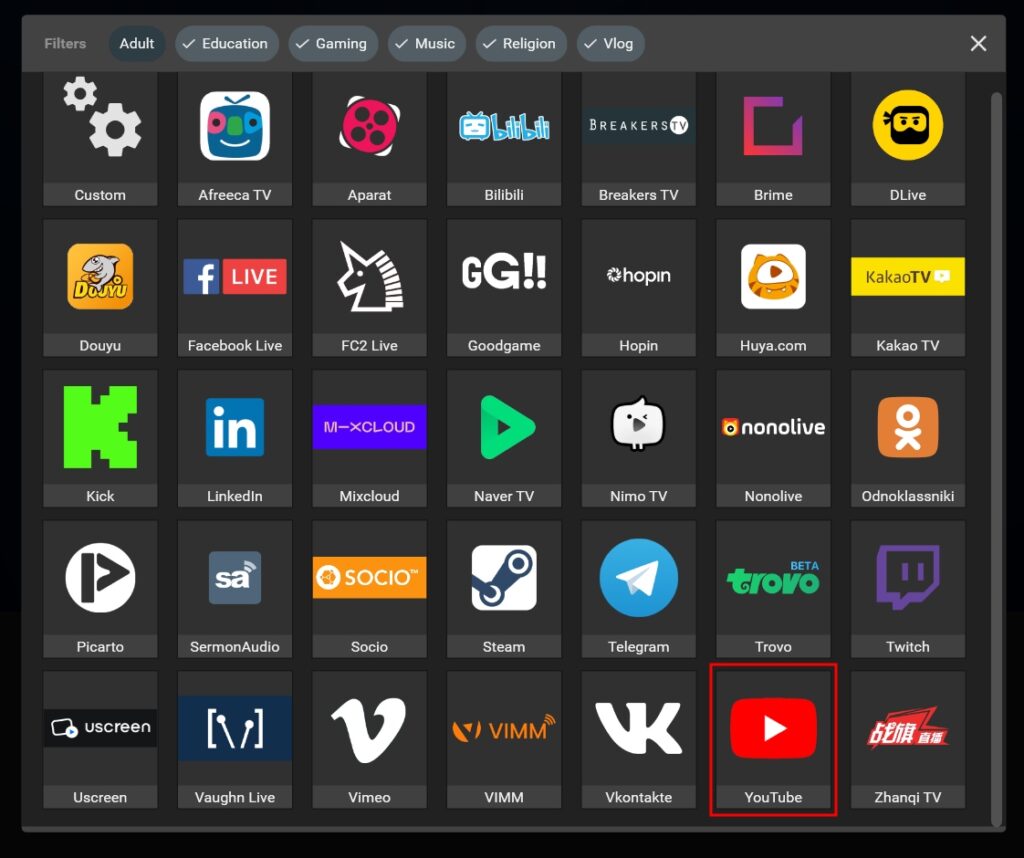
Step 5. Click the “Youtube” icon in the list of streaming channels.
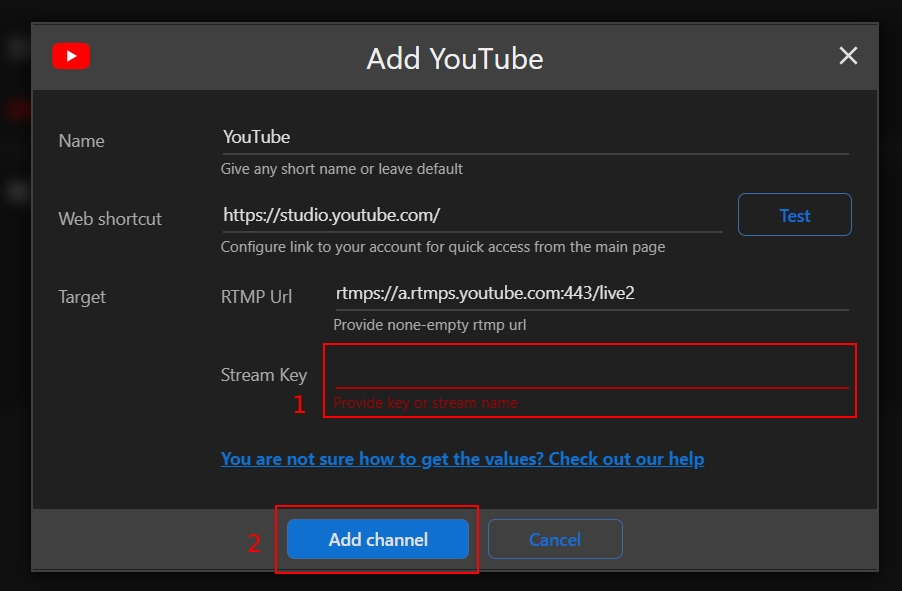
Step 6. Paste your Stream key (1), and click the “Add channel” button (2).
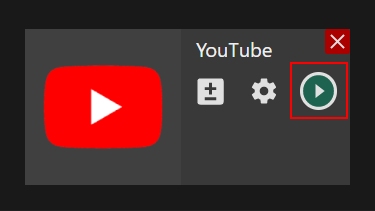
Step 7. Start your live stream on the platform.
Method 2. Setting up a YouTube channel automatically
2.1. Creating live stream on YouTube
Step 1. Log in to your YouTube account.
Step 2. Click the “Create” – “Go Live” button in the upper right corner of the website.
2.2. Connecting Streamster App
Step 3. Click the “Add channel” button.
Step 4. Click the “Youtube” icon in the list of streaming channels.
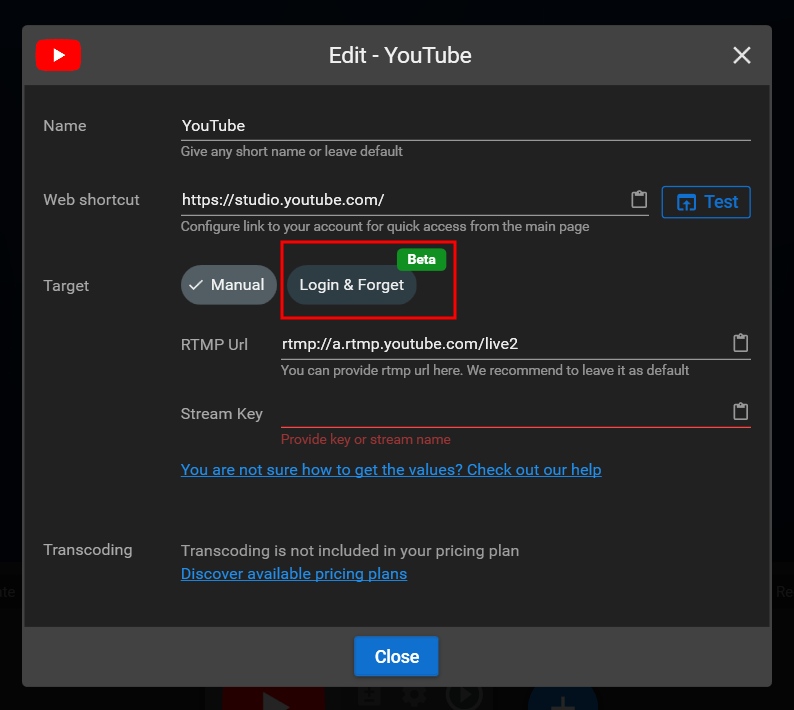
Step 5. Click the “Login & Forget” button.
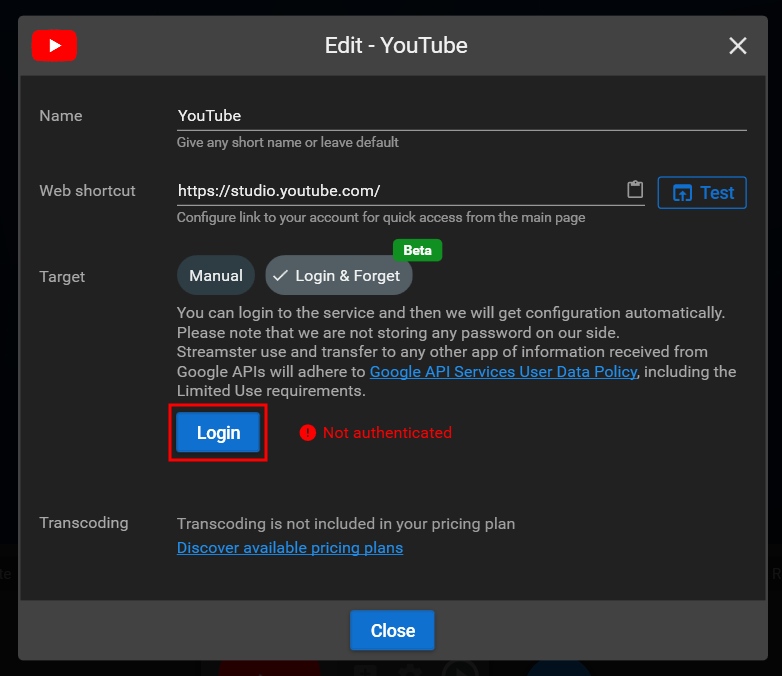
Step 6. Click the “Login” button
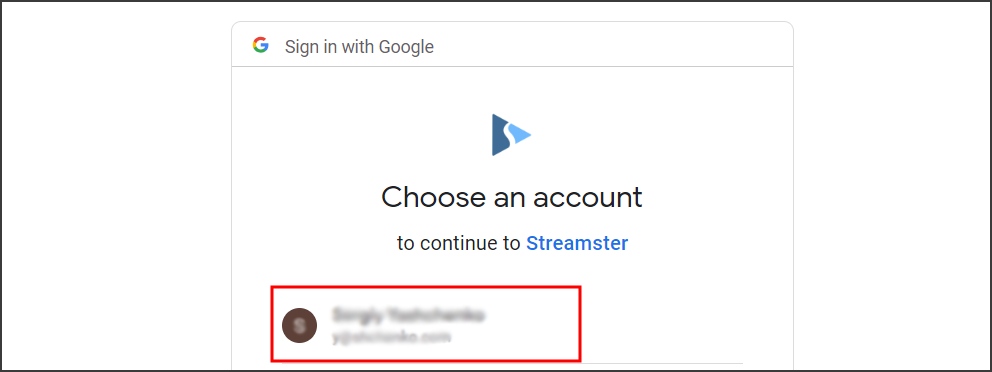
Step 7. Sign in to your Google account.
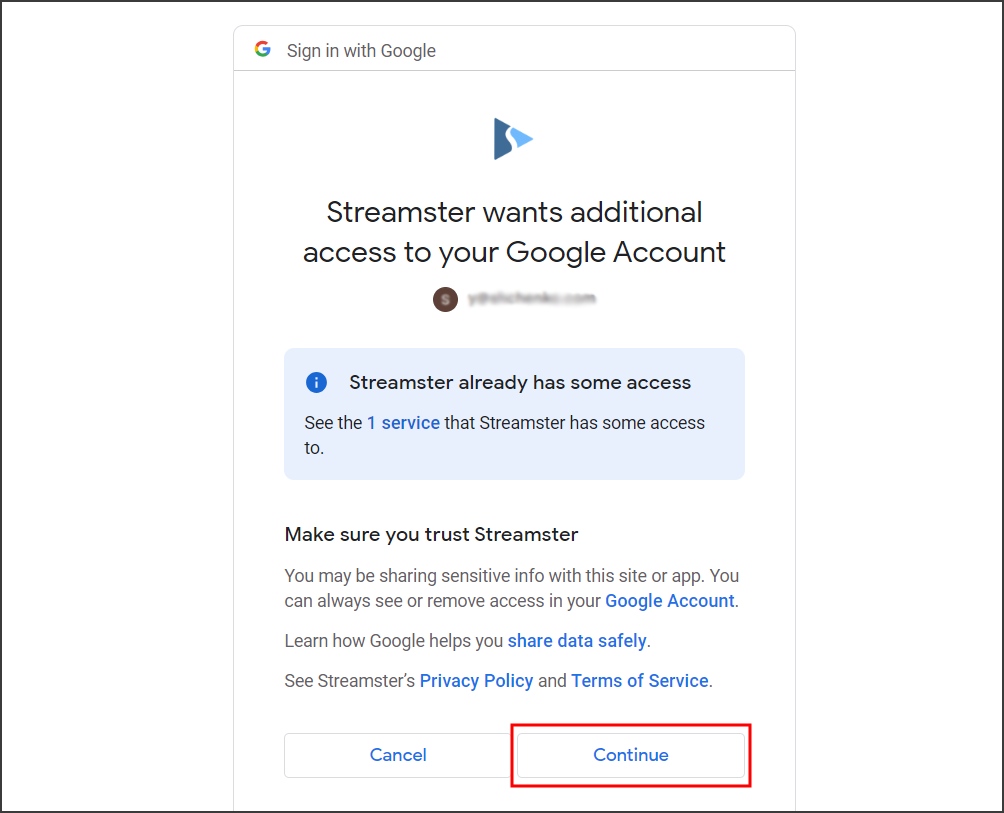
Step 8. Confirm Streamster connection.
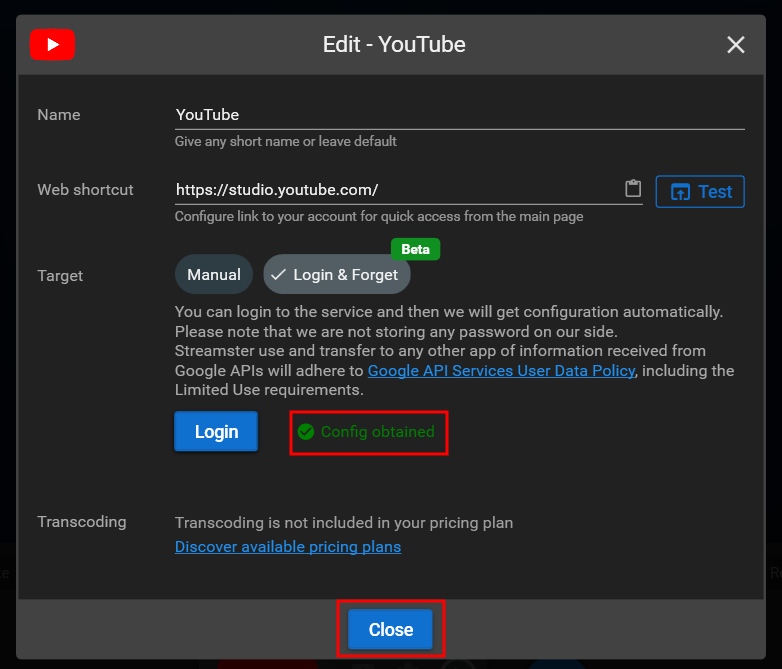
Step 9. In the Streamster app, make sure that the config is obtained and click the “Close” button.
Step 10. Start your live stream on the platform.
2.3. [Optional] Adding YouTube chat to the Streamster App
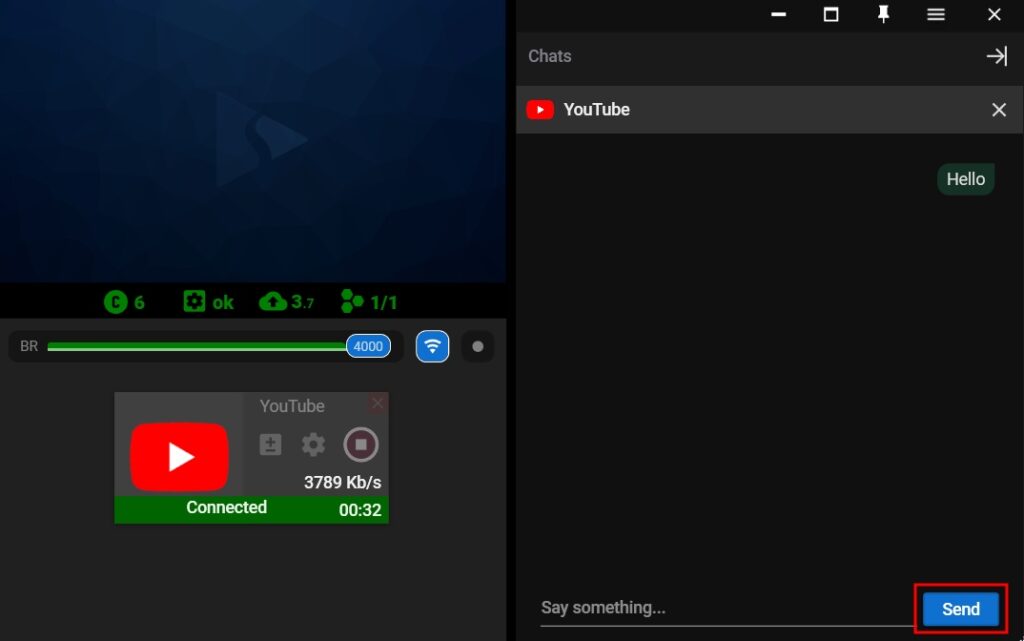
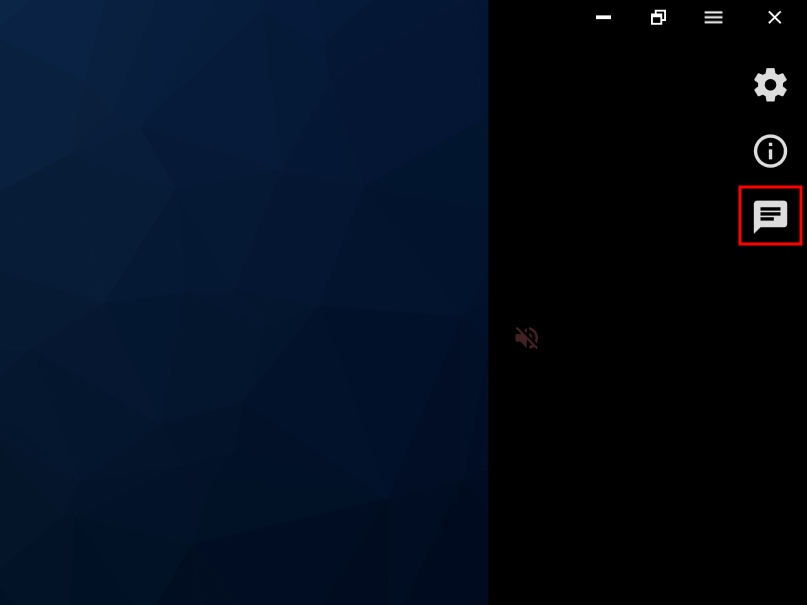
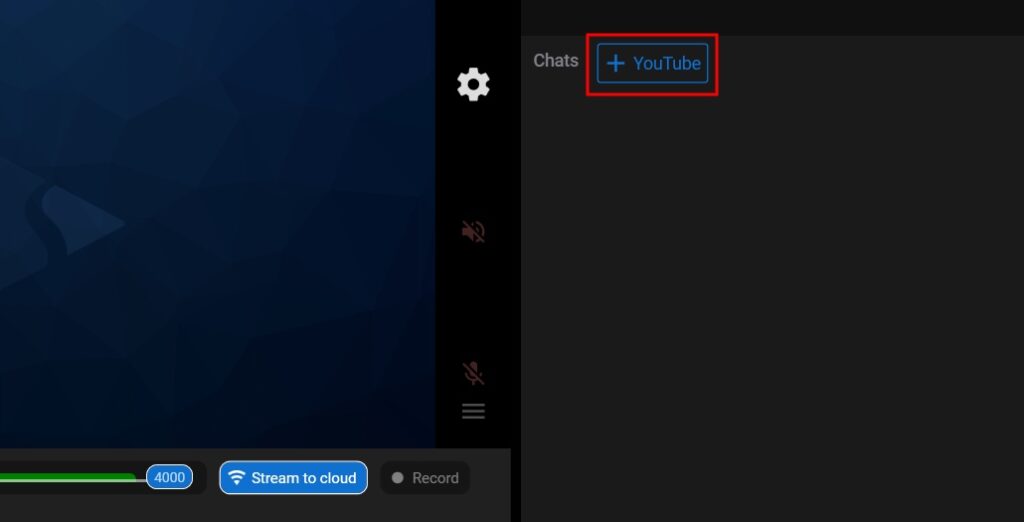
Step 11. Click the “Chat” button in the top right corner of the app.
Step 12. Connect YouTube chat by clicking the “YouTube” button.
Step 13. See your viewers’ comments and answer them in the Streamster app.