Tip2Peep
Tip2Peep is a tool that allows your web cameras to react to tips. Currently, it works on Stripchat, Chaturbate, MyFreeCams, and Cam4.
It requires at least two web cameras connected to your PC. One is the primary camera – its feed is visible to viewers. Another one is hidden. Its feed becomes visible only once the specific tip is received. It is visible for viewers for a certain period of time, and the primary camera becomes active again once this period is expired.
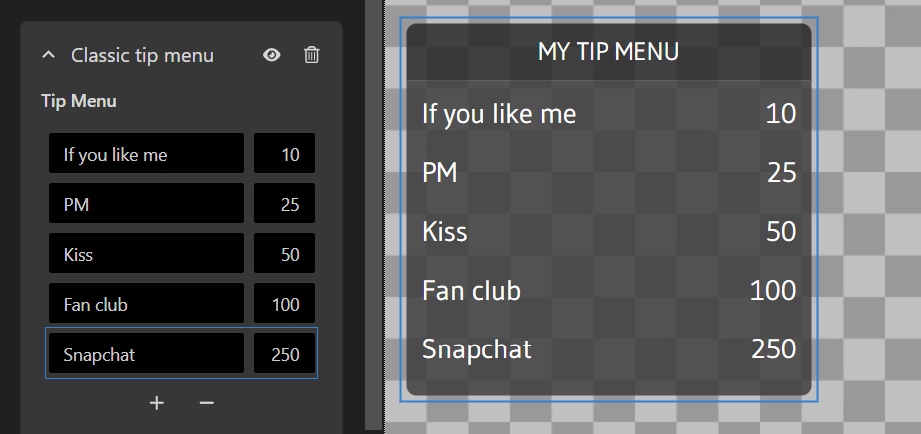
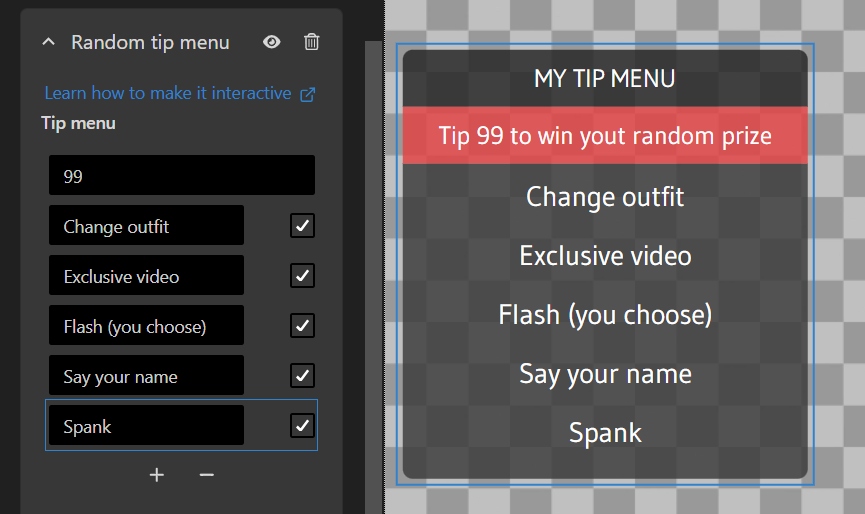
When configuring the Tip2Peep tool, you need to set up 3 parameters:
- Amount of tip that activates the hidden camera.
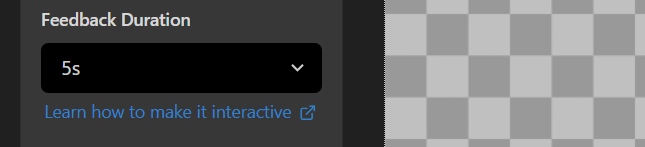
- The time the camera is active once the tip is received.
- The camera’s name lets viewers know what to expect after the tip.
Watch how it works on this demonstration video:
Articles
Getting Started
Part 1. Setitng Up Tip2Peep in Streamster Desktop App
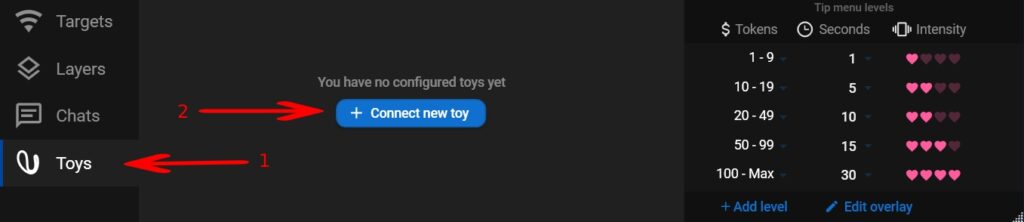
Step 1. Launch Streamster desktop app
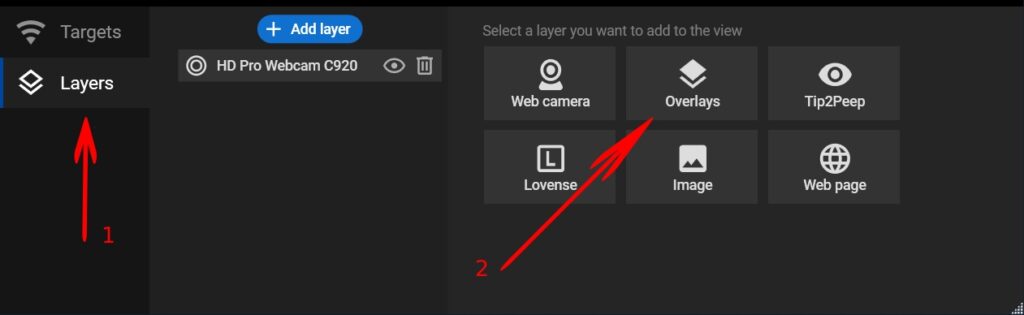
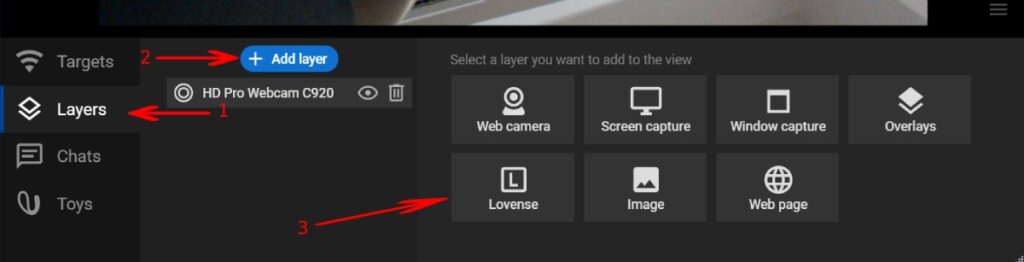
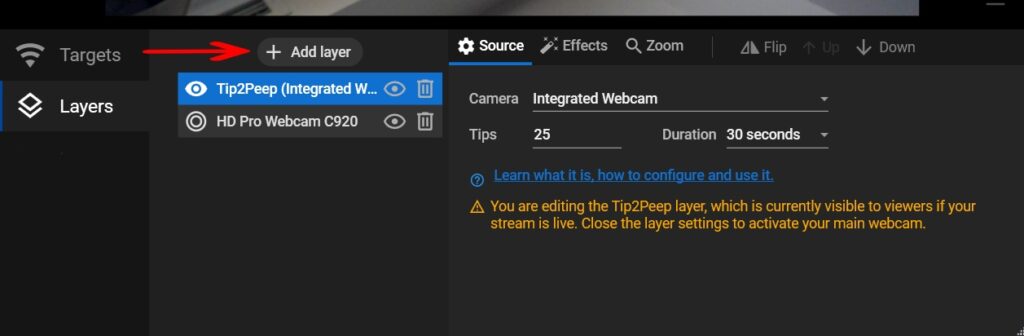
Step 2. Open the “Layers” tab (1) and ensure that correct web camera is selected as your main camera (2).
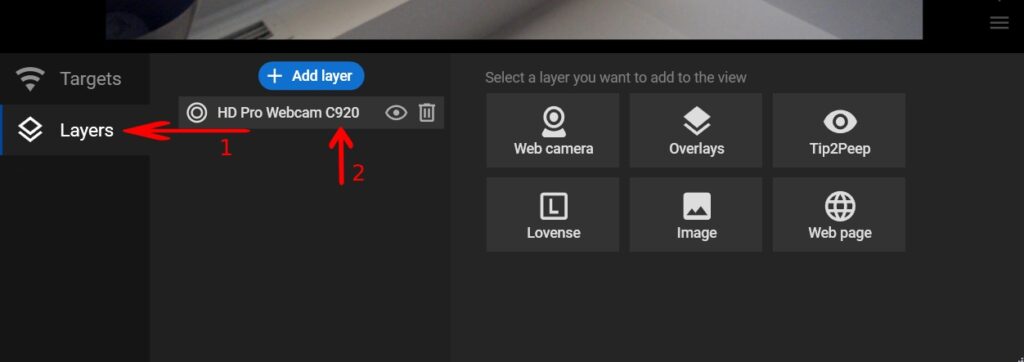
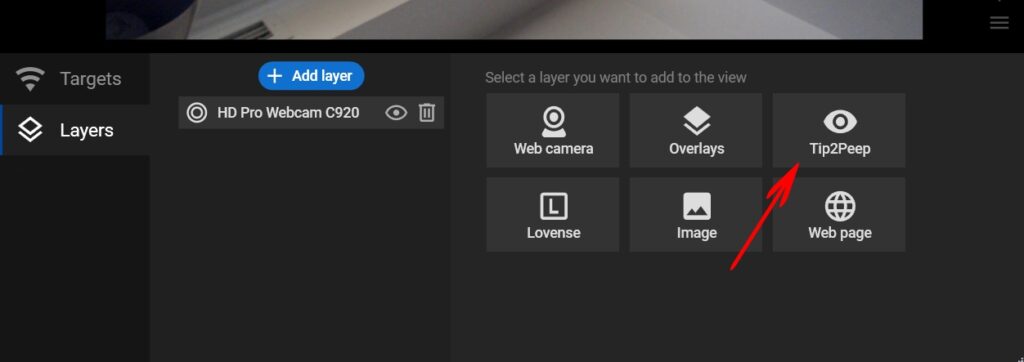
Step 3. Select the “Tip2Peep” video source.
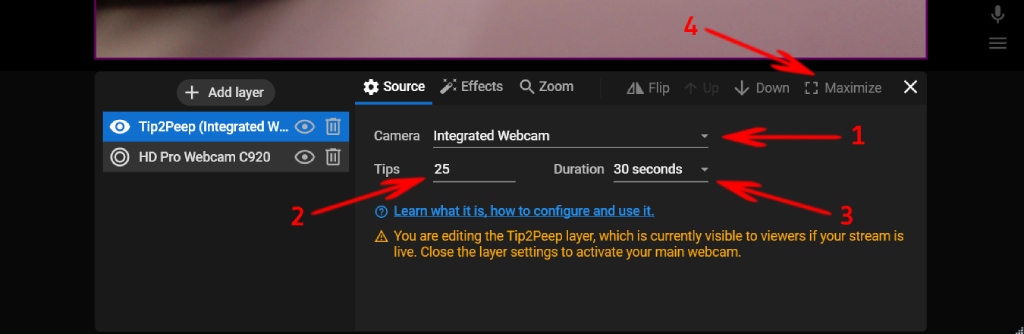
Step 4. Select the camera that should be activated by the tip (1). Type the amount of tip to activate the camera (2). Select the duration for the Tip2Peep camera is active after the specific tip is received (3). Also, set up your Tip2Peep camera feed: change its position and size on your streaming scene or click the “Maximize” button (4) to cover 100% of your stream.
Part 2. Setting Up Tip2Peep Overlay
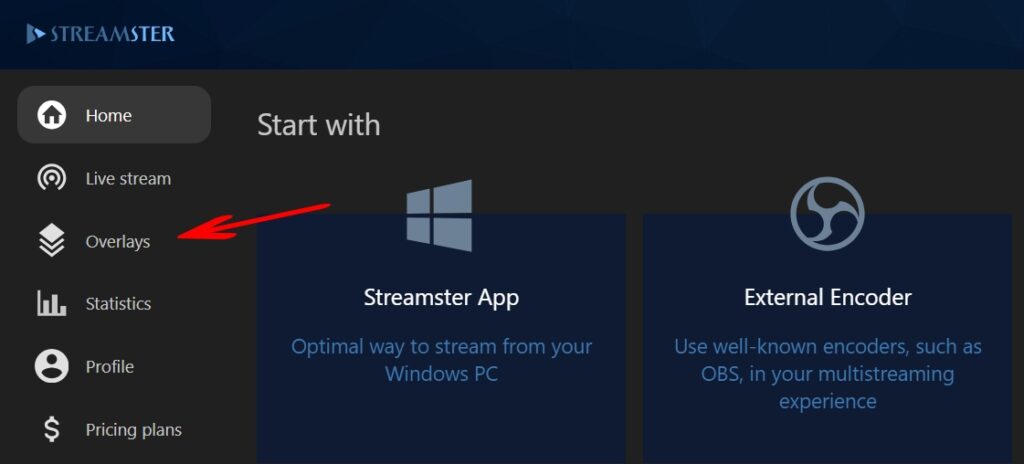
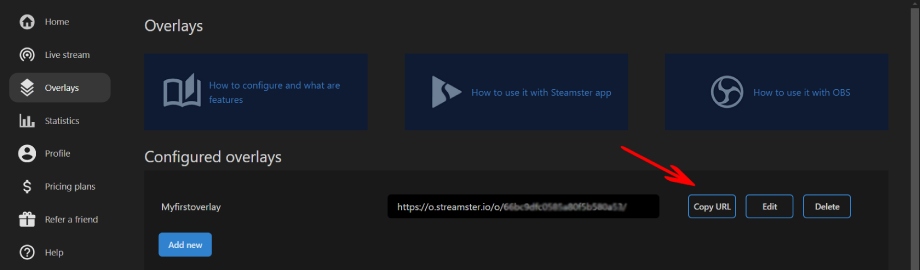
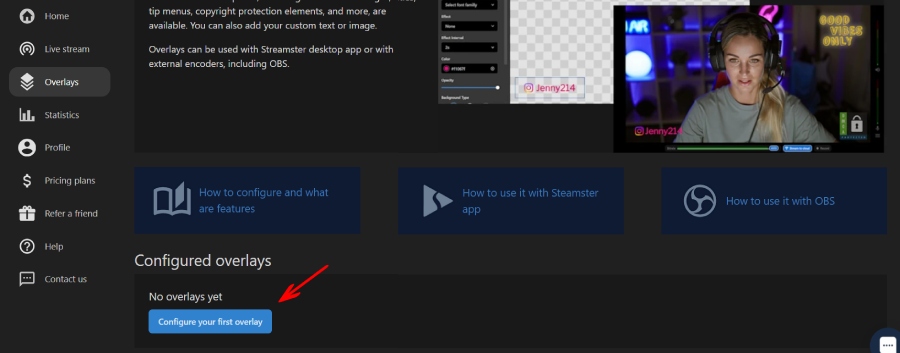
Step 5. Go to Streamster Overalys
Step 6. Click the “Configure your first overlay” button
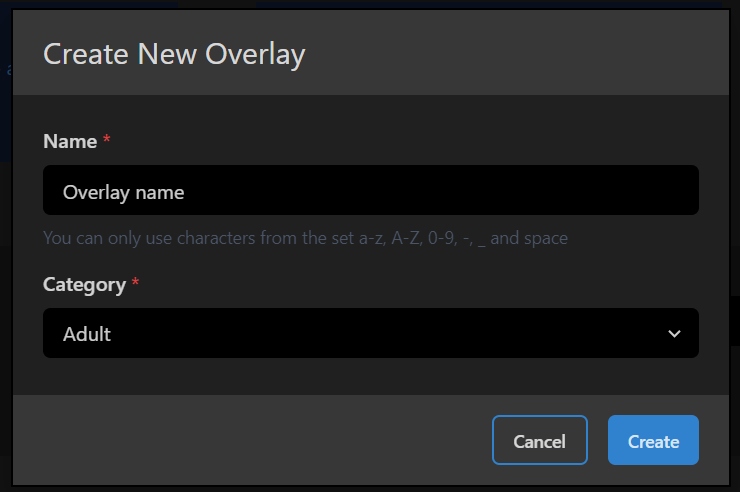
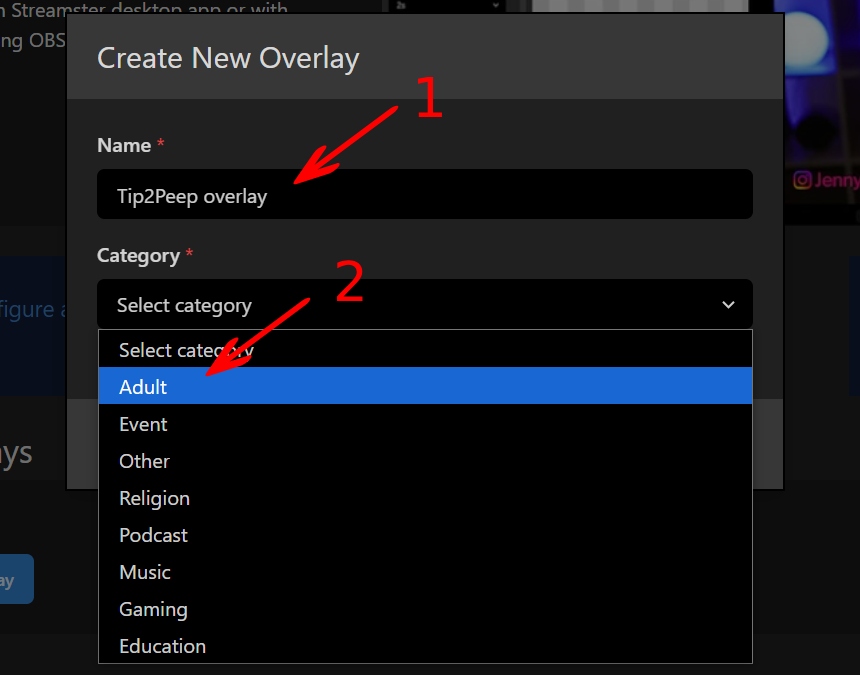
Step 7. Type the custom name for your overlay (1). Select the “Adult” category for your overlay (2). Click the “Create” button.
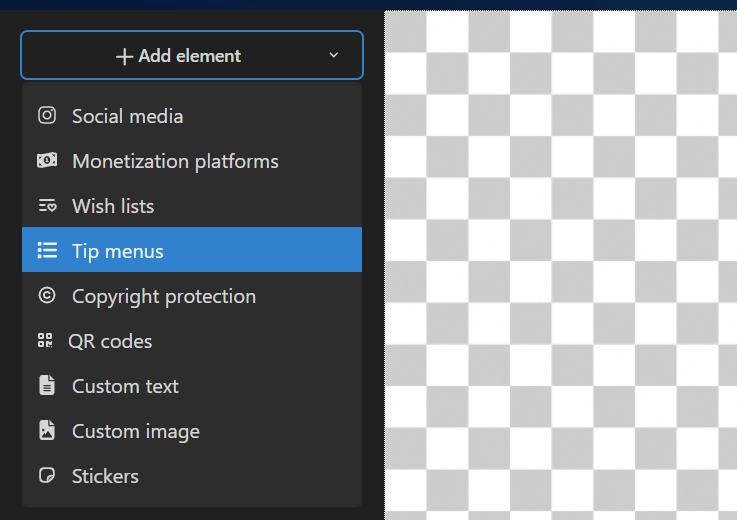
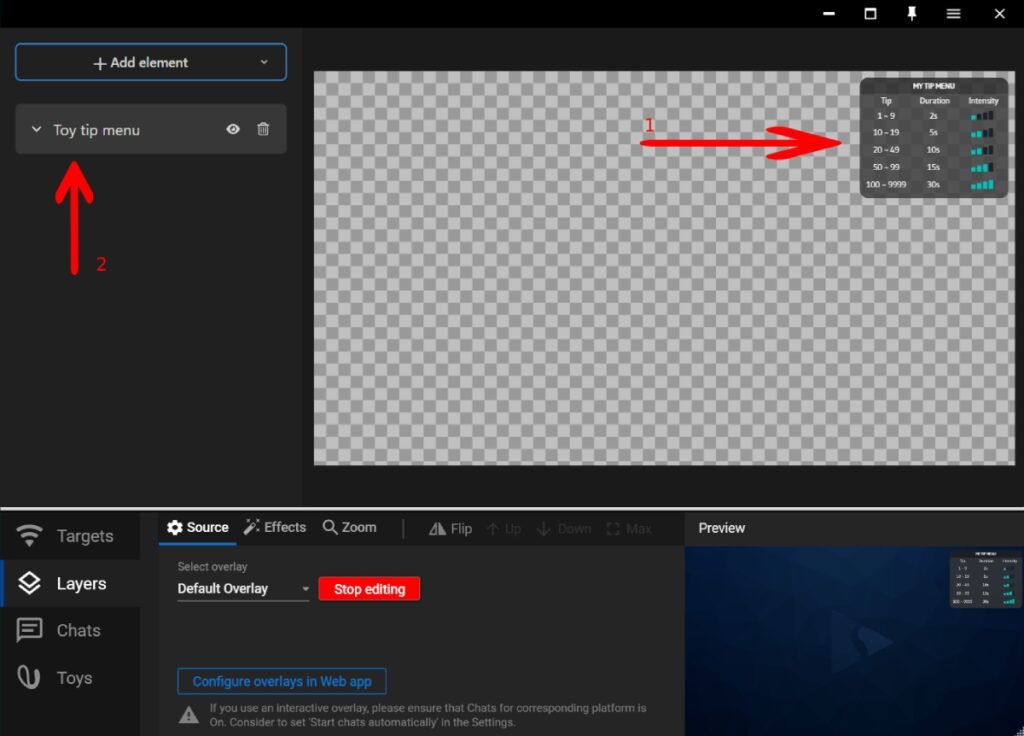
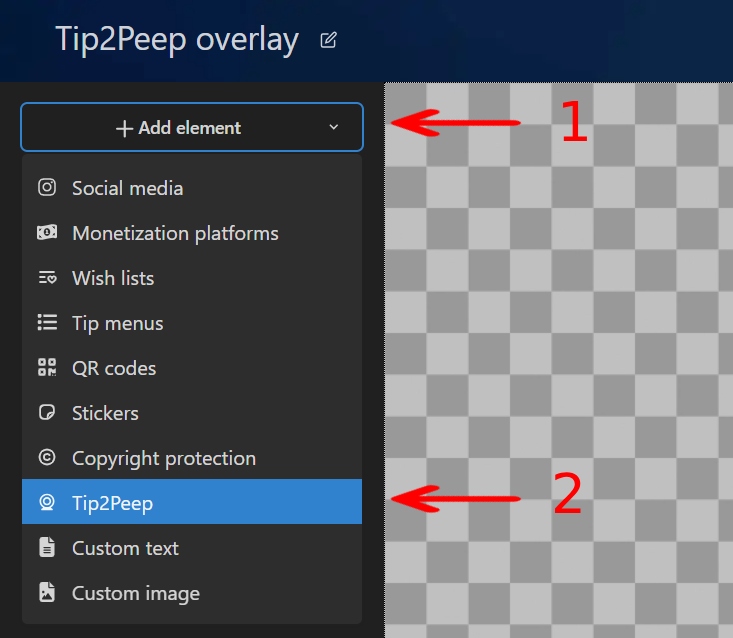
Step 8. Click the “Add element” button (1) and select the “Tip2Peep” option from the list (2).
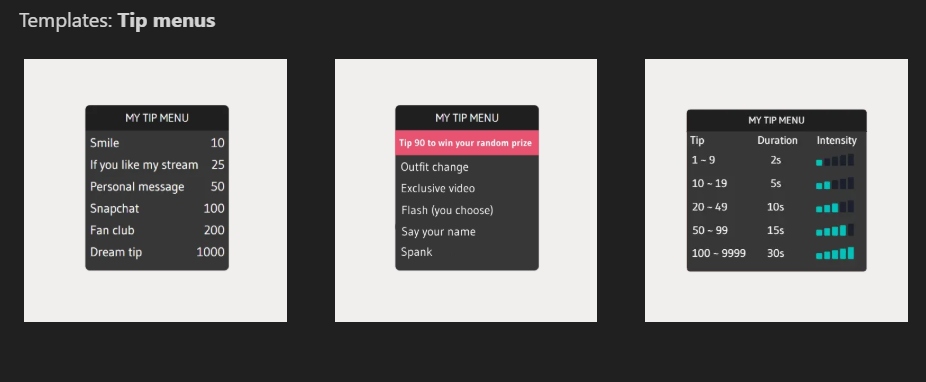
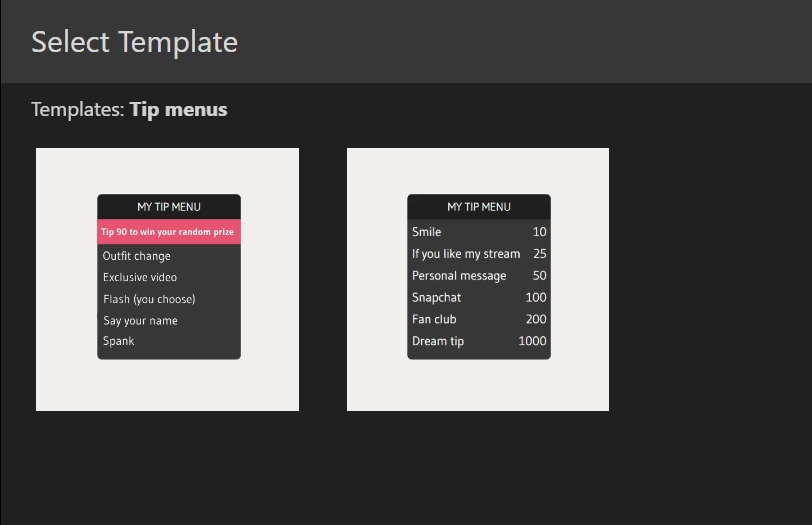
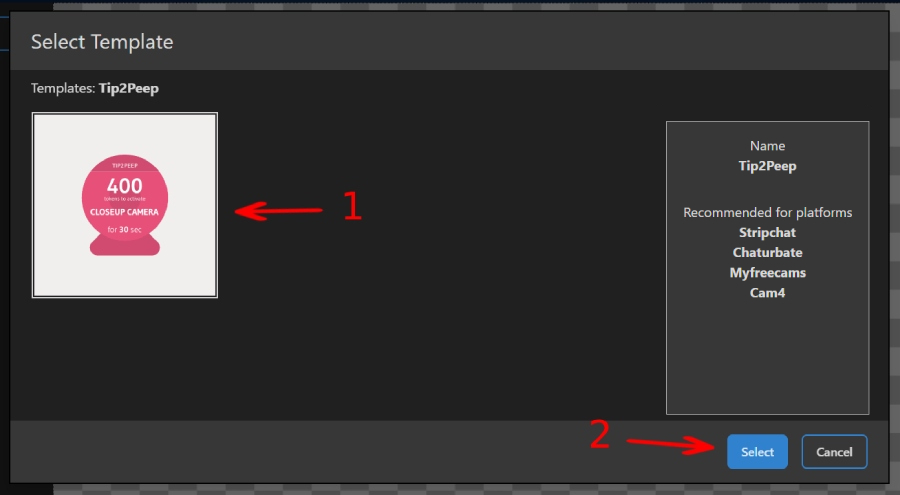
Step 9. Click on the template (1) and press the “Select” button (2).
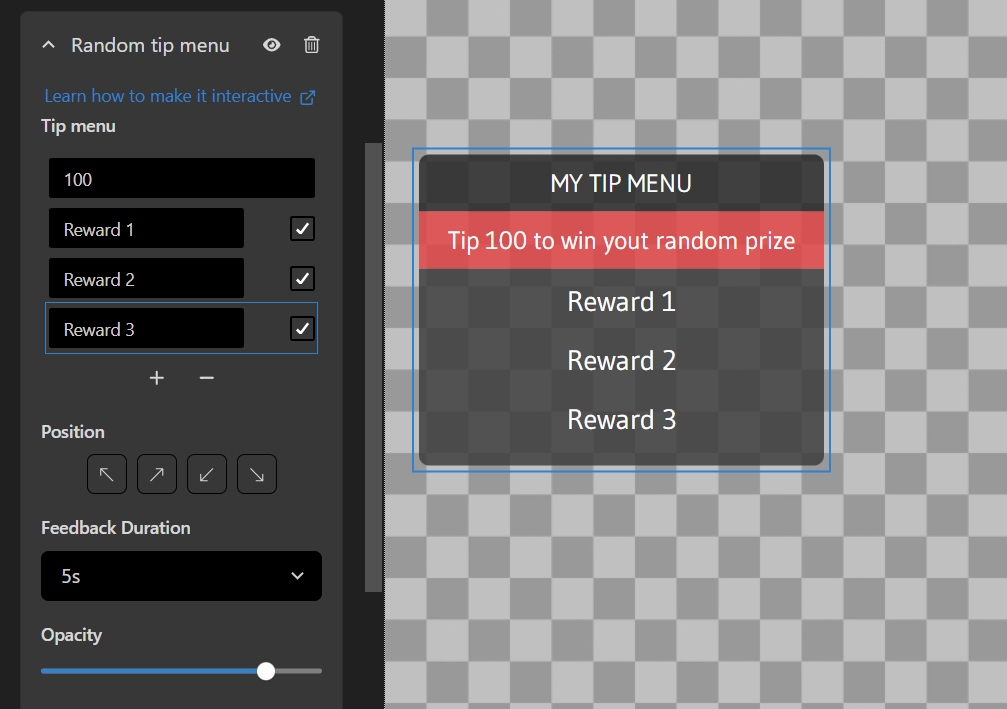
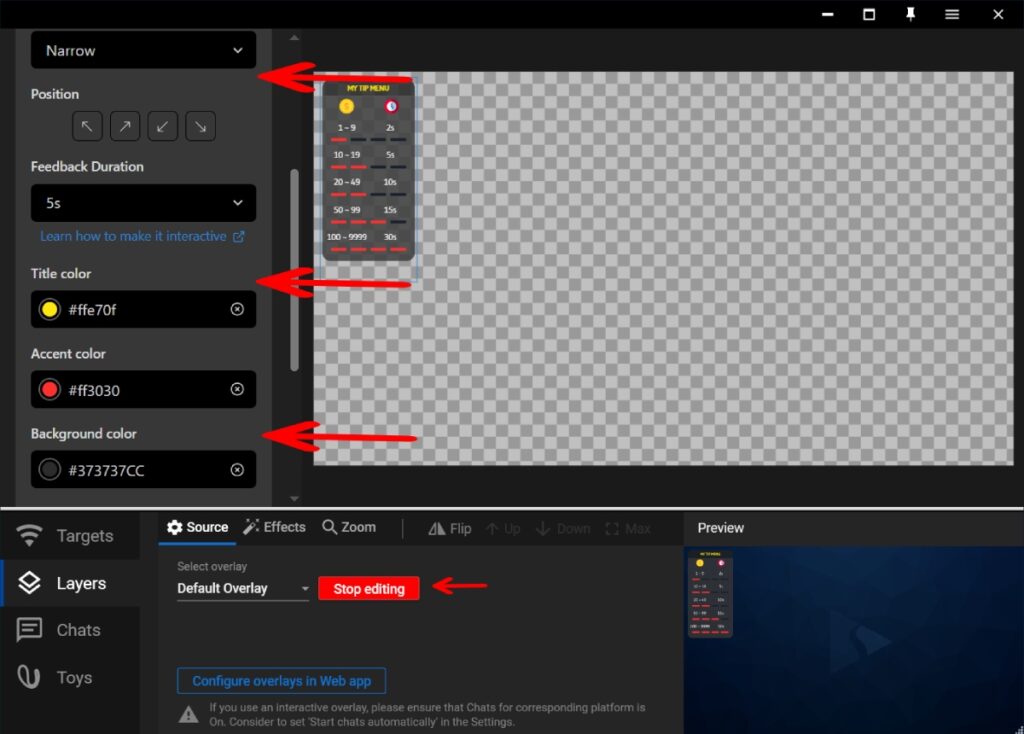
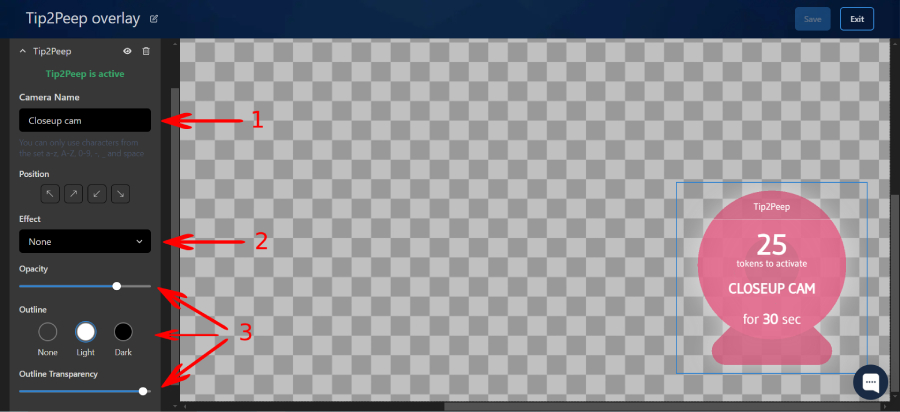
Step 10. Set up your overlay. Type your camera name (1): we recommend naming your camera to help the viewer understand what to expect from the camera switch. Place your overlay on your streaming scene: move it within the editor area or use position arrows (2). Also, you can apply effects to your Tip2Peep overlay, e.g. transparency or outline (3).
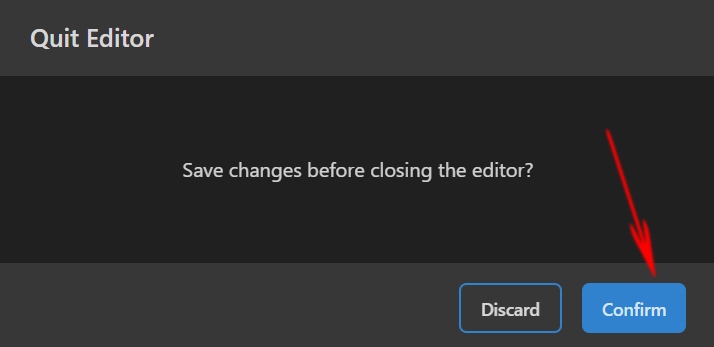
Step 11. Click the “Exit” button in the top right corner and confirm the changes.
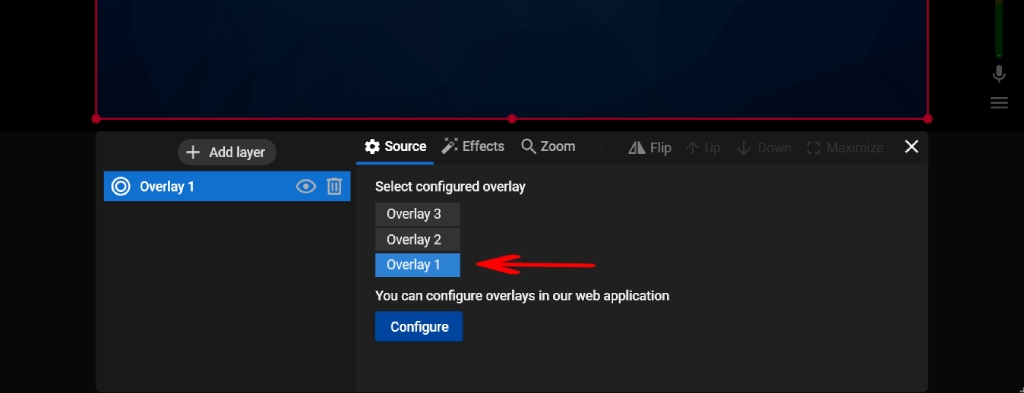
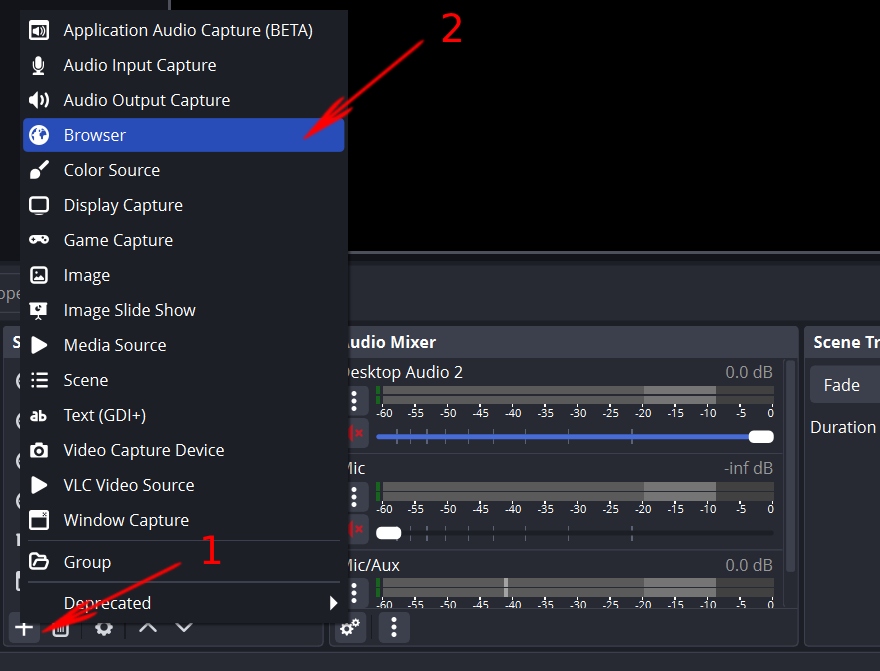
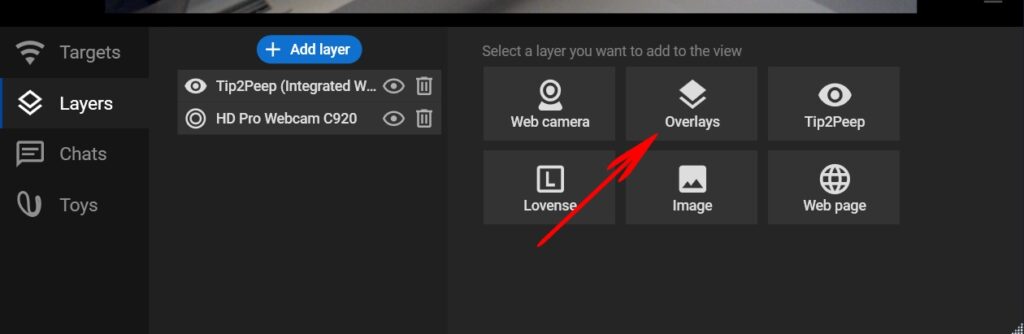
Step 12. Go back to the Streamster desktop app and click the “Add layer” button.
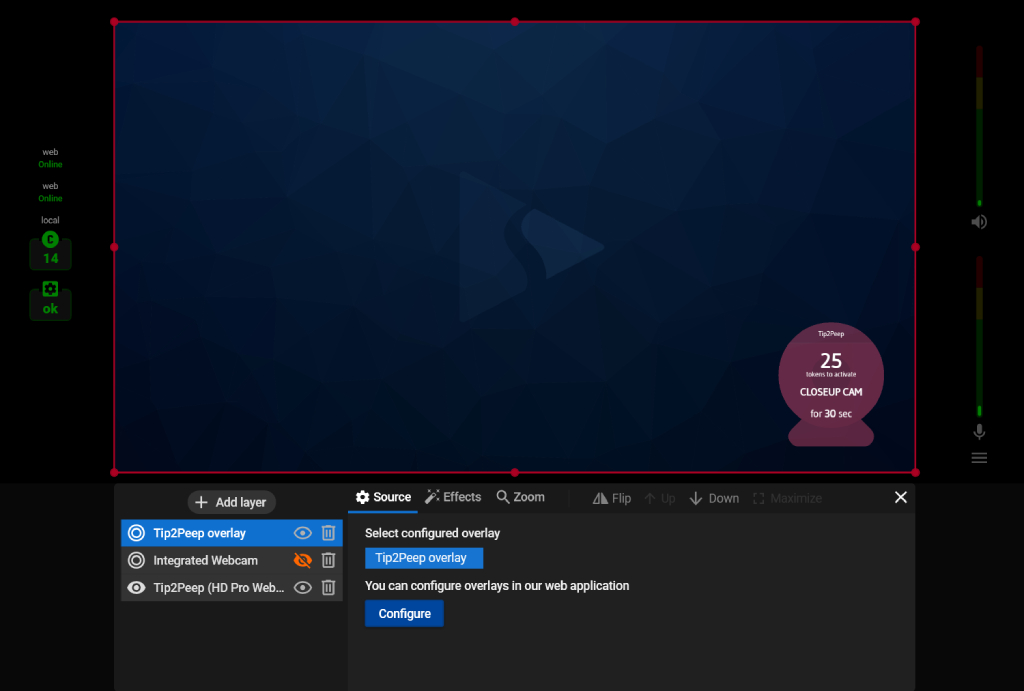
Step 13. Choose the “Overlays” option and select your overlay from the list.
Tip2Peep overlay should appear in your video preview.
Part 3. Setting Up Channels and Starting Your Stream
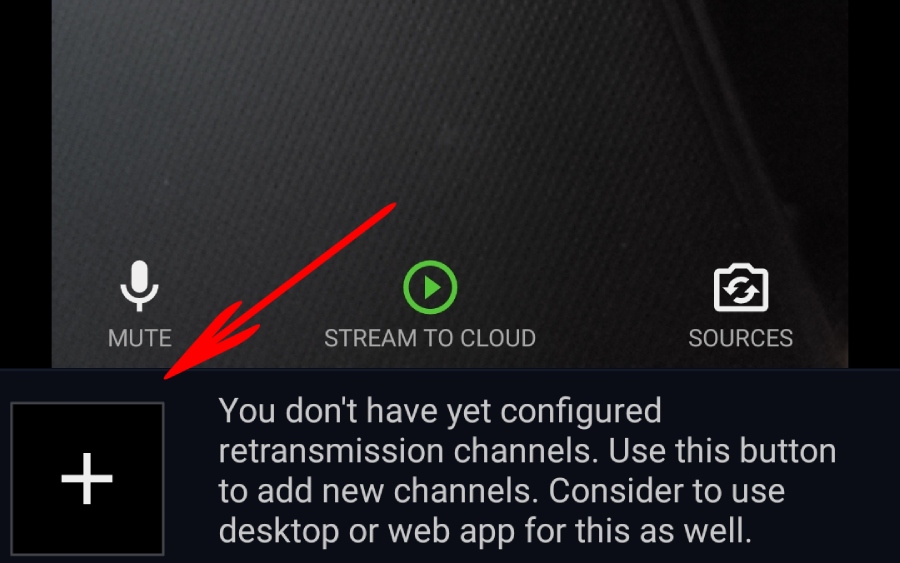
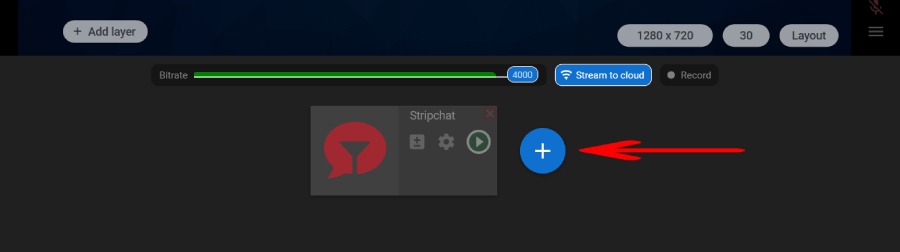
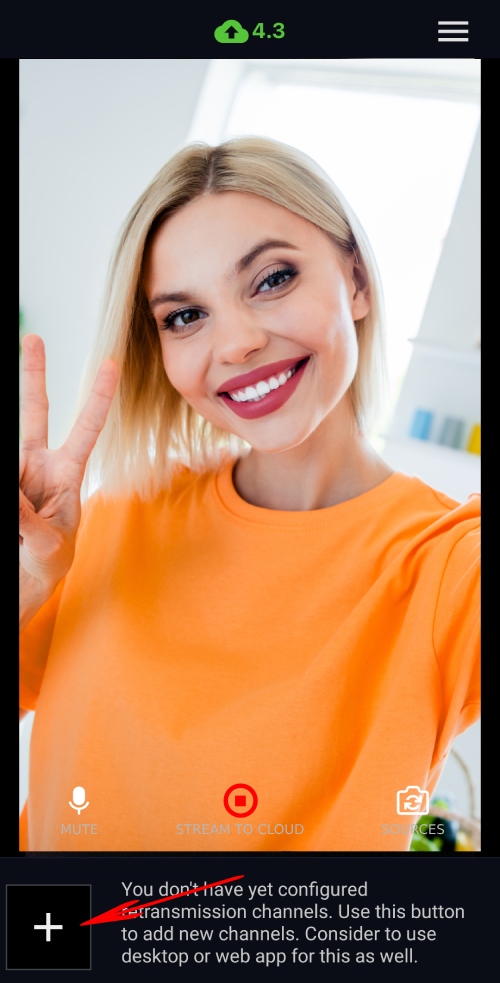
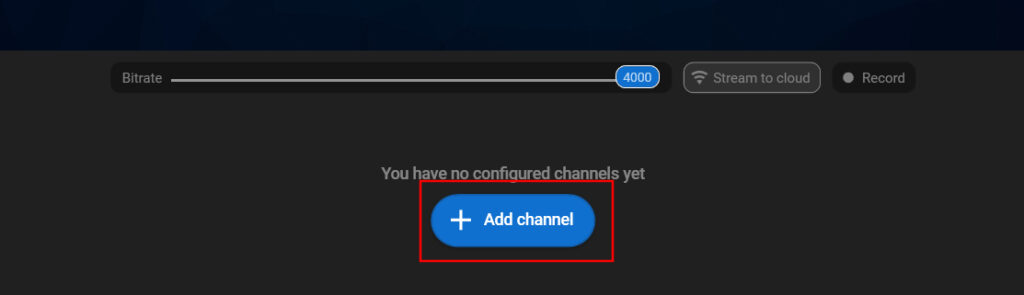
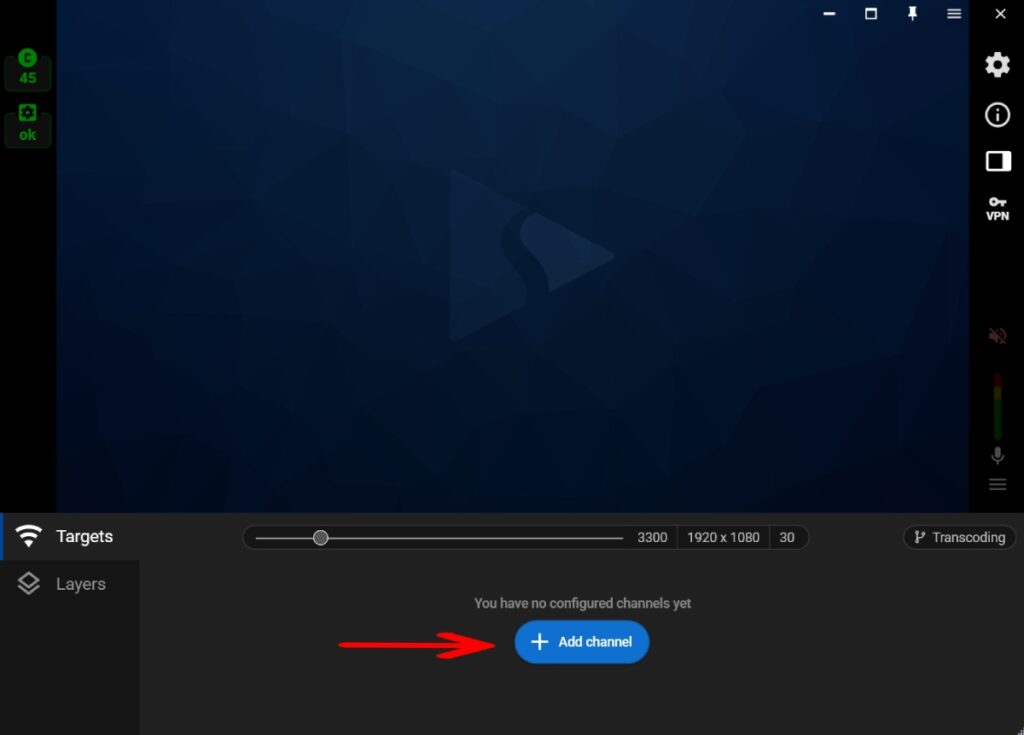
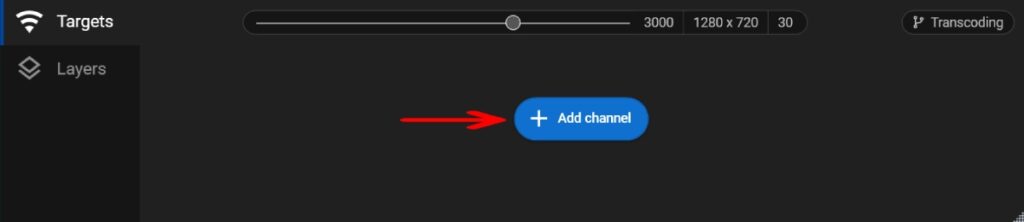
Step 14. Click the “Add channels” button to set up your stream to the site.
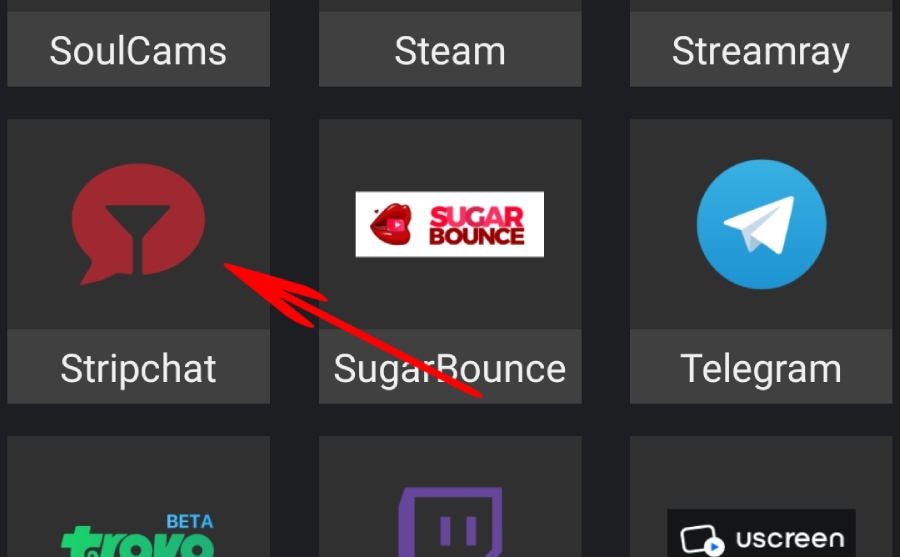
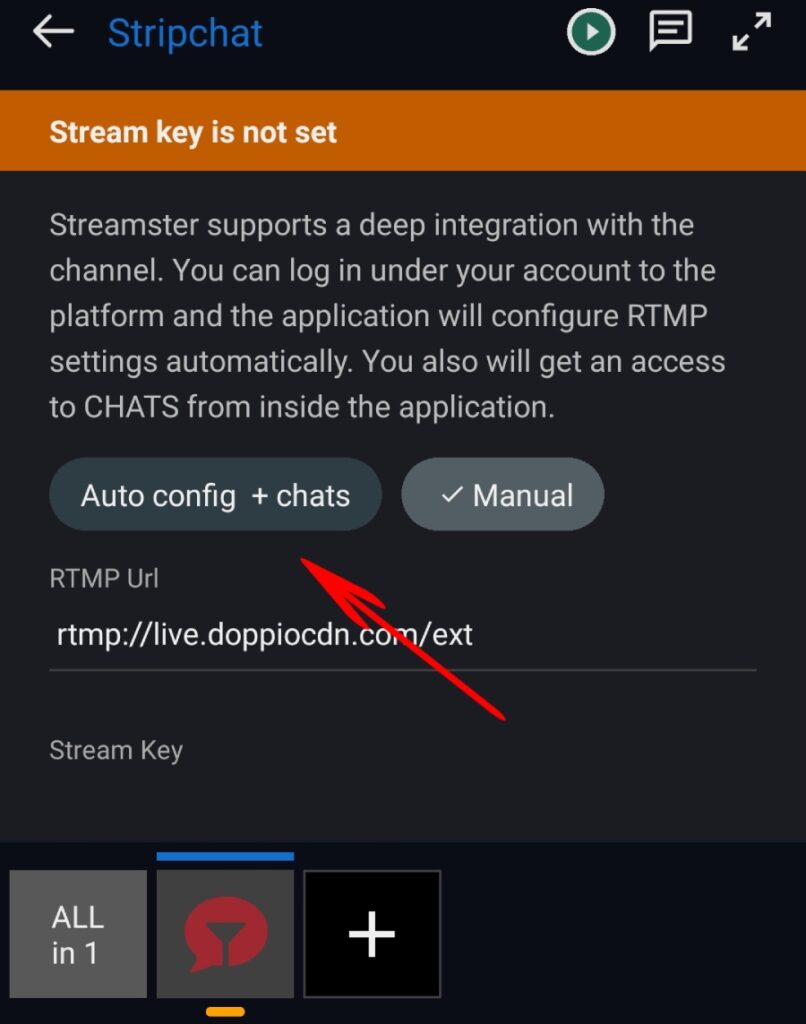
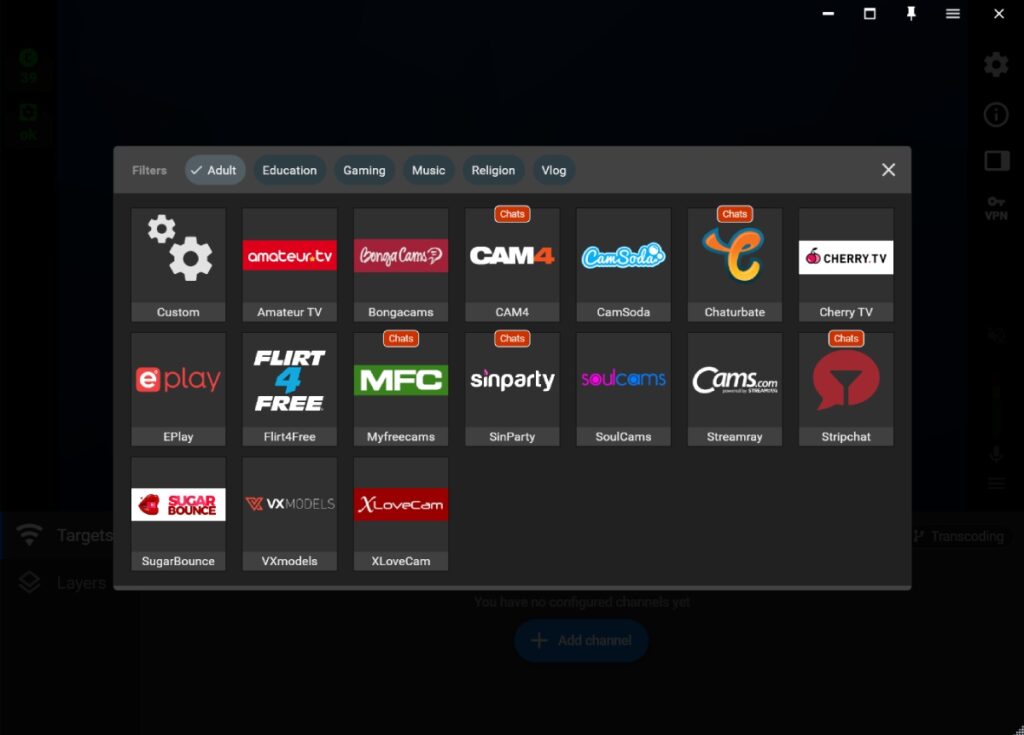
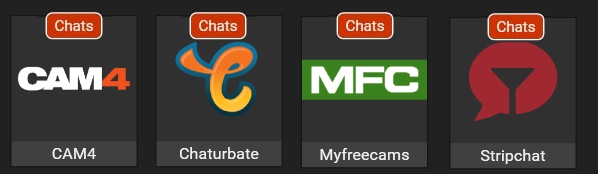
Step 15. Select one of the platforms with the chat feature available (they are marked with the red “Chats” label)
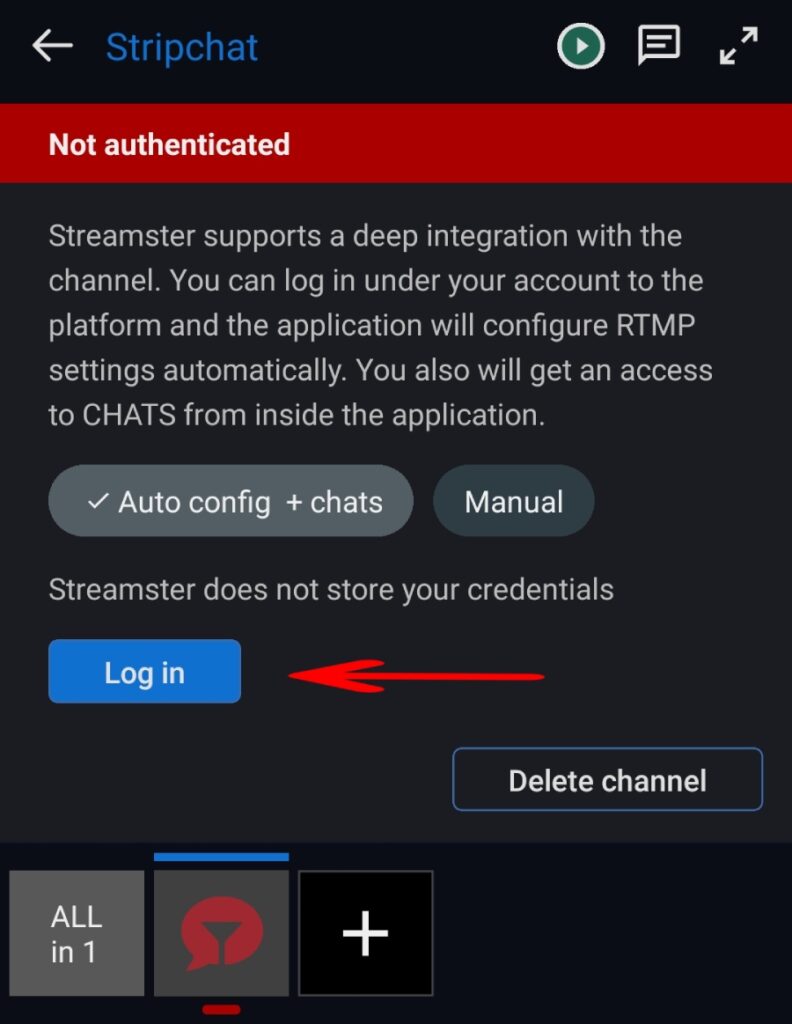
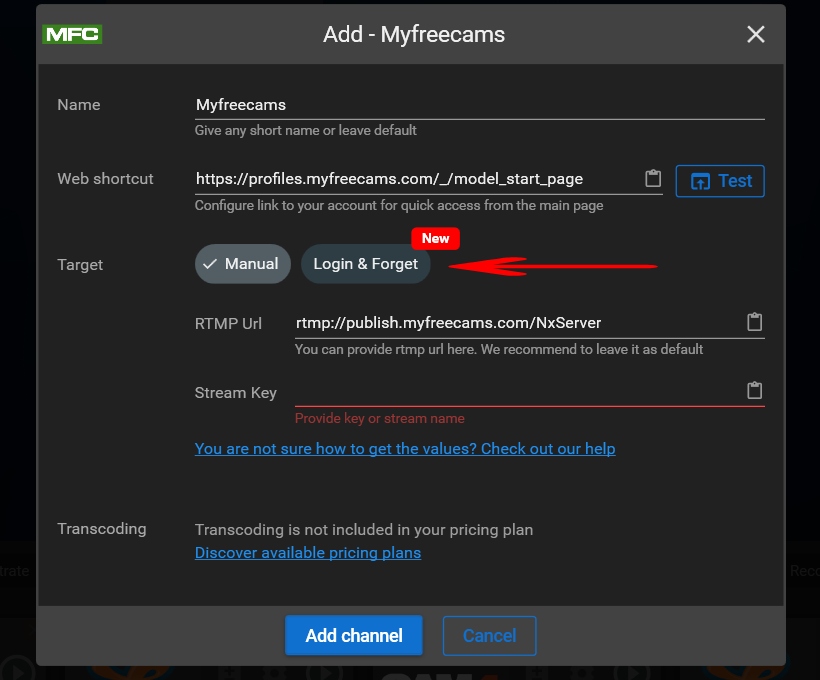
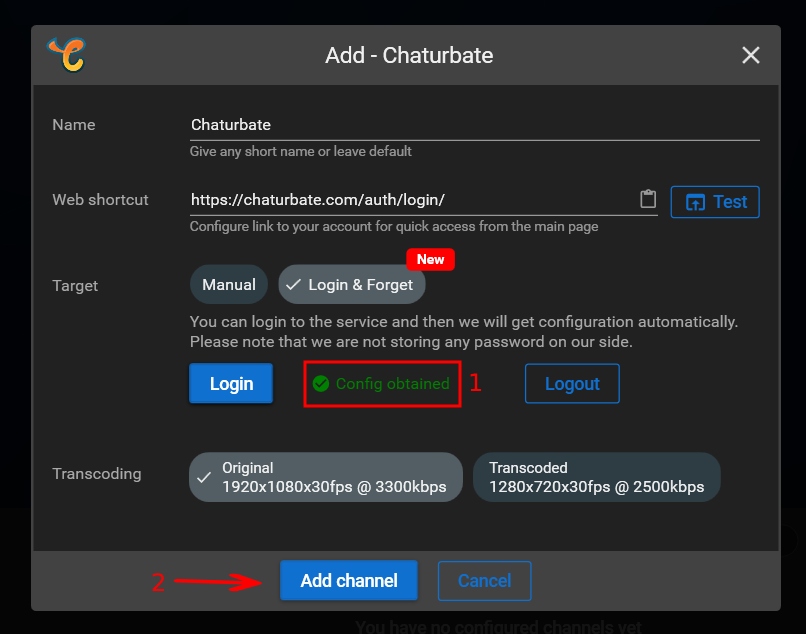
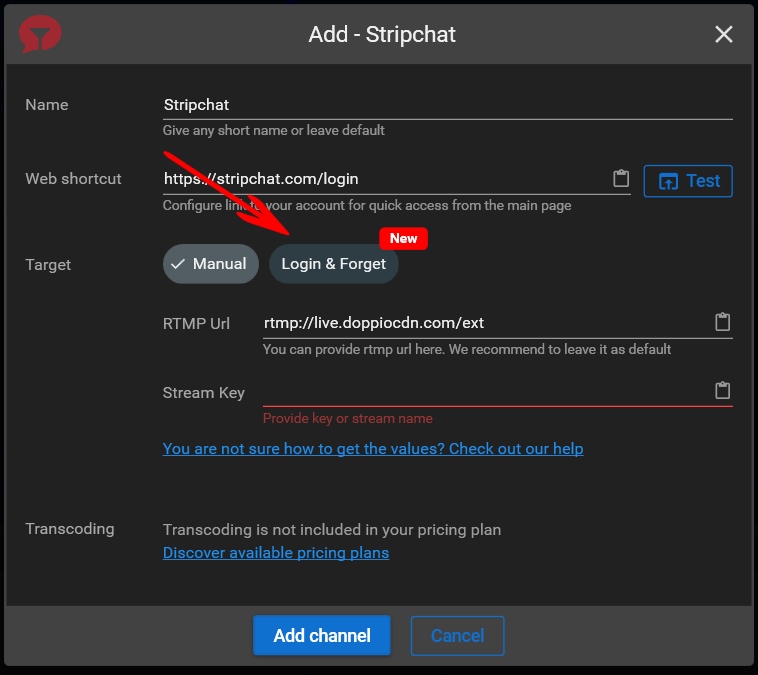
Step 16. Click the “Login & Forget” button.
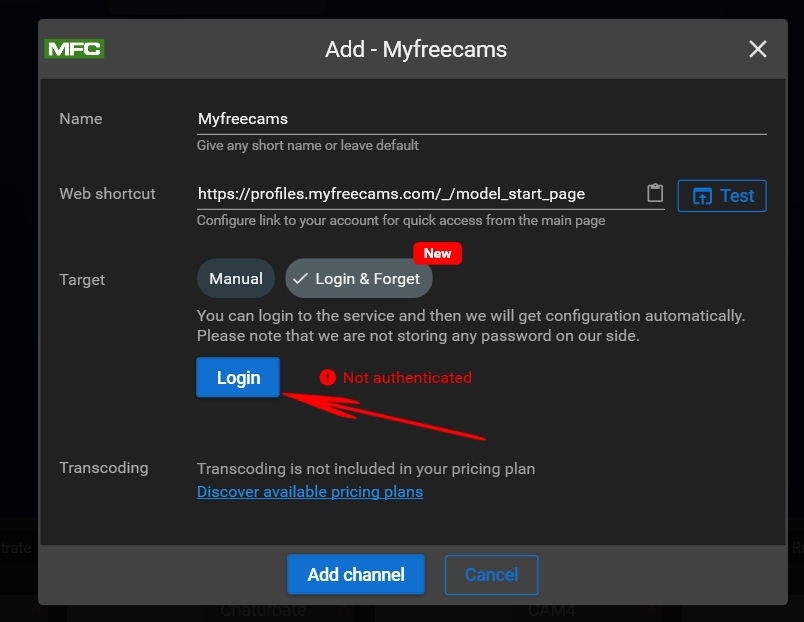
Step 17. Click the “Login” button.
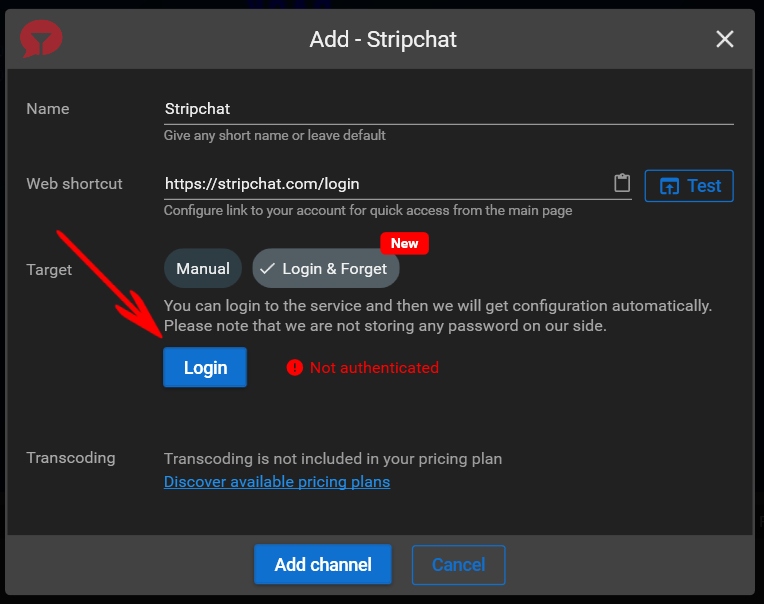
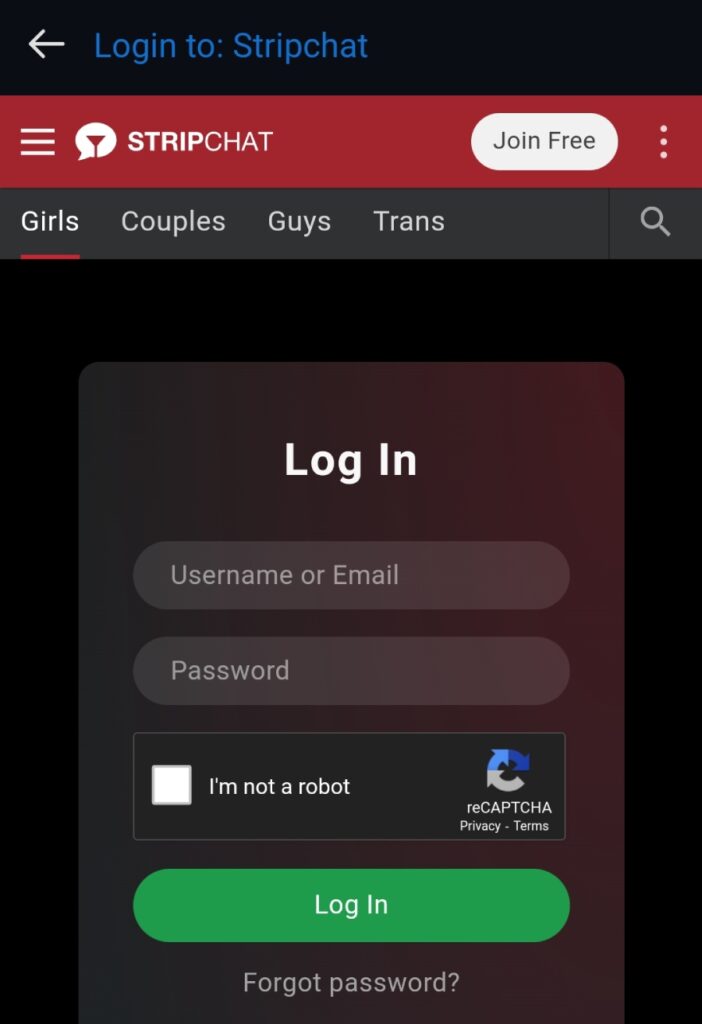
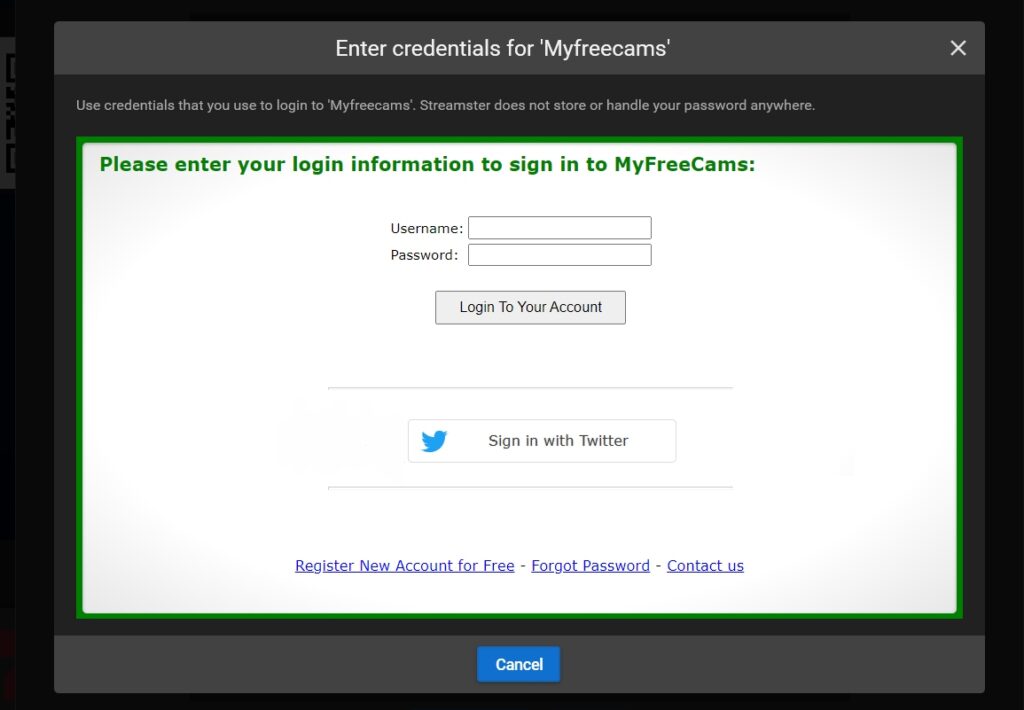
Step 18. Enter your platform credentials to authenticate.
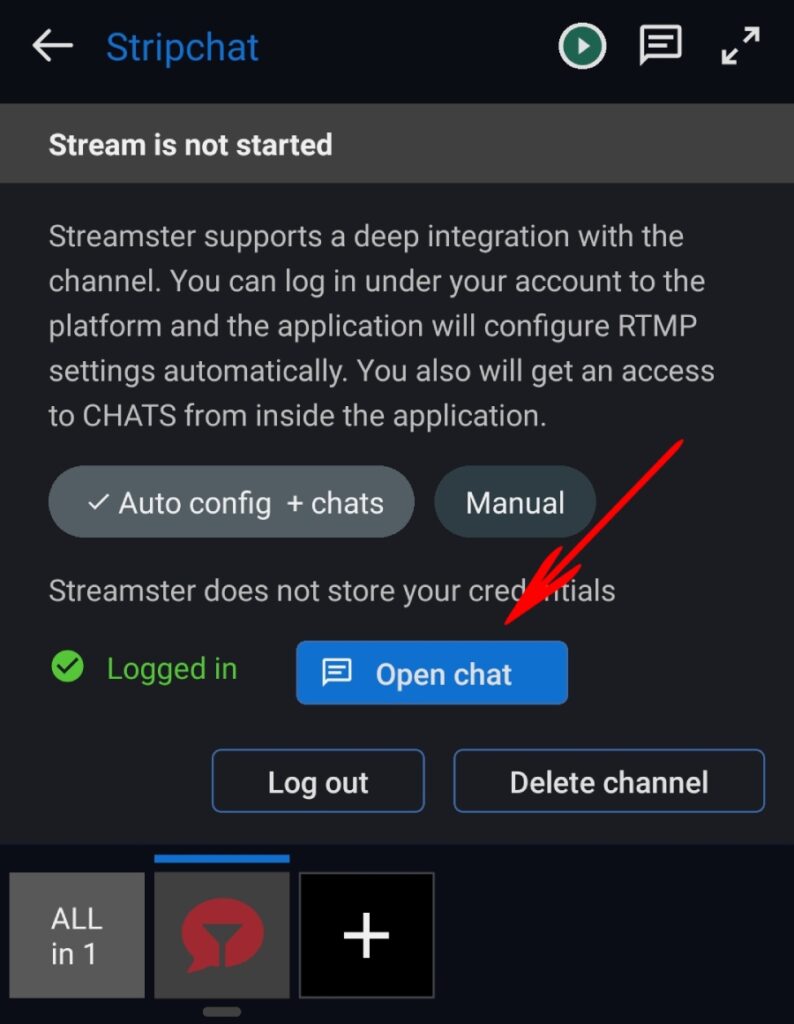
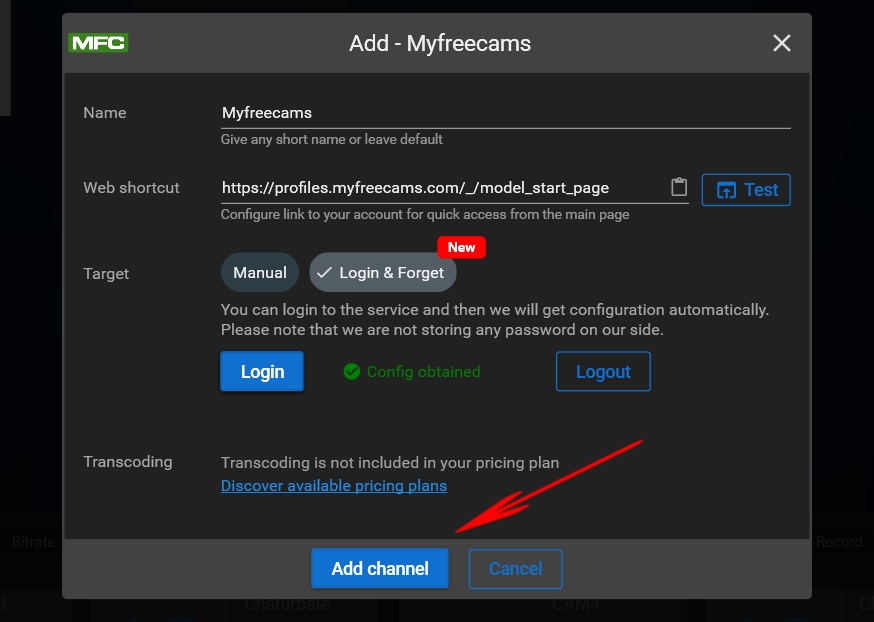
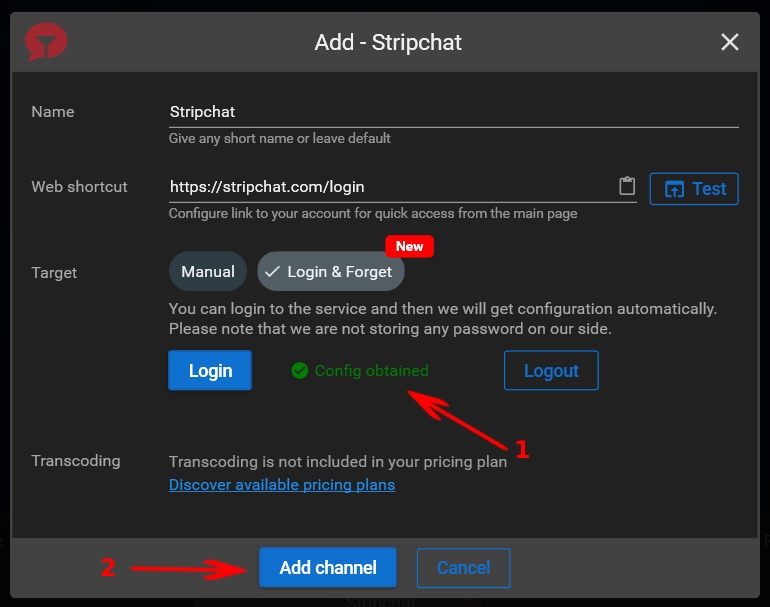
Step 19. If the authorization is successful, you can see a “config obtained” notification (1). Click the “Add channel” button (2).
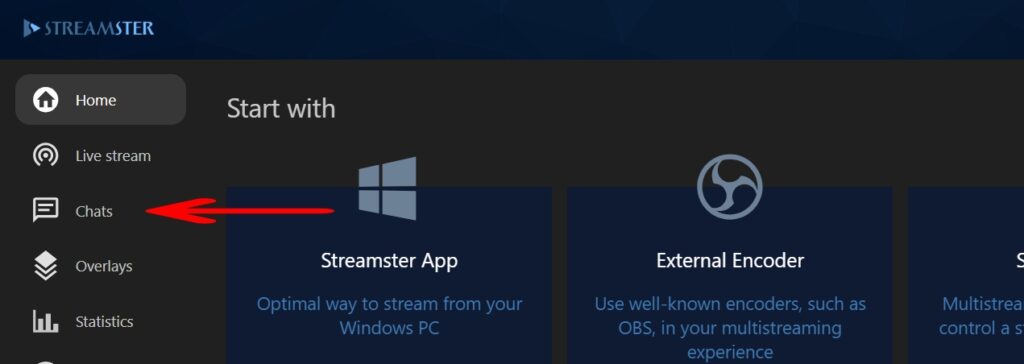
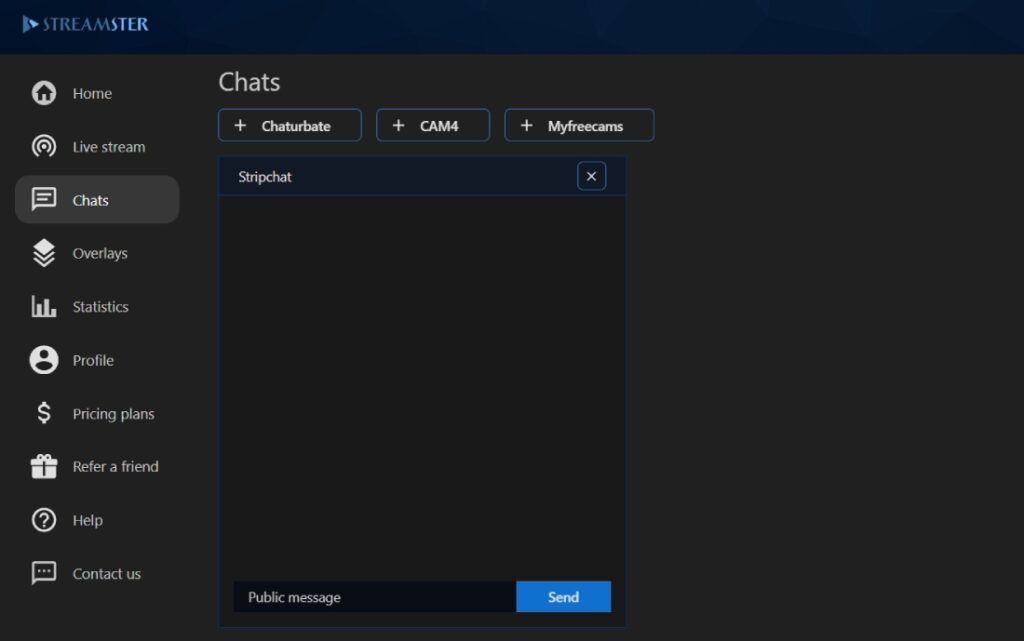
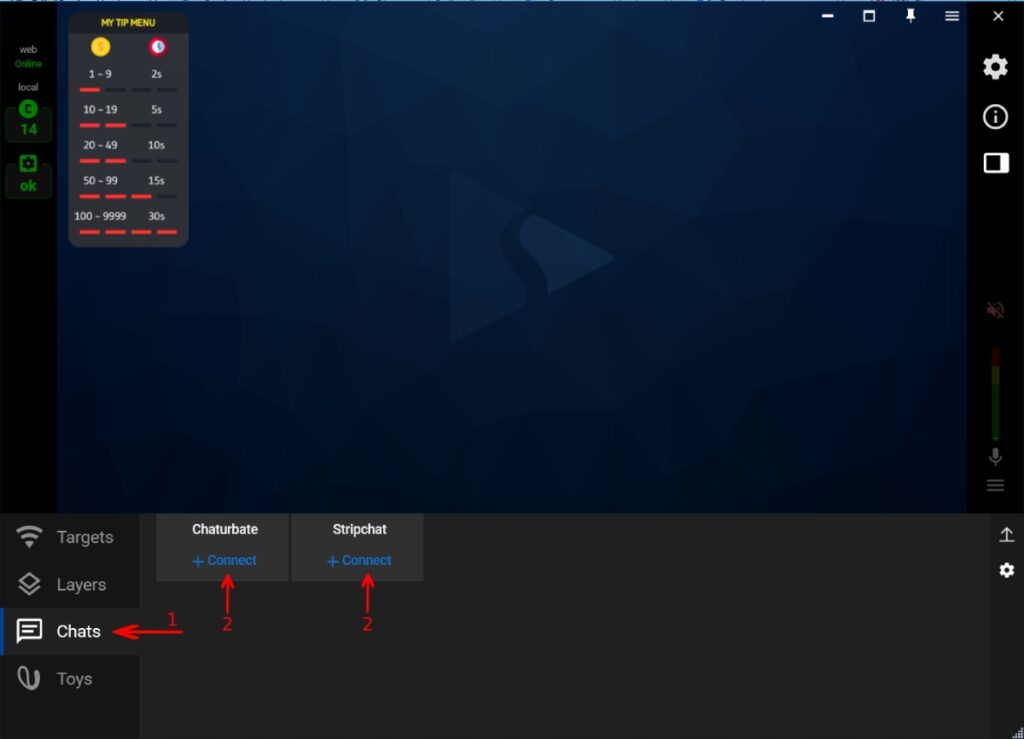
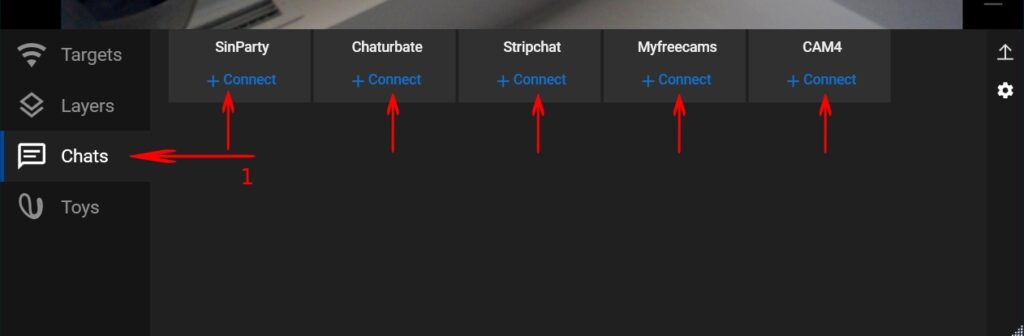
Step 20. Open the “Chats” tab and click the “Connect” button for the sites on which you want to use the Tip2peep feature.
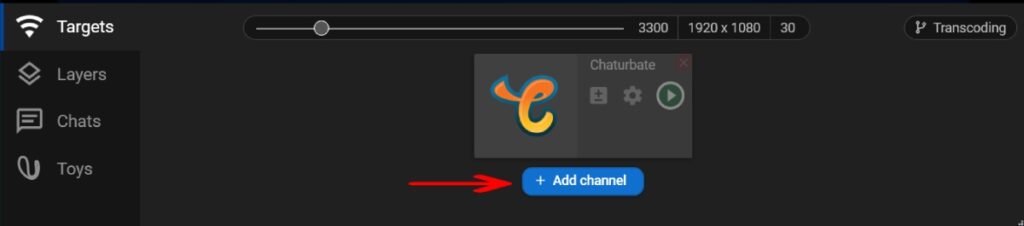
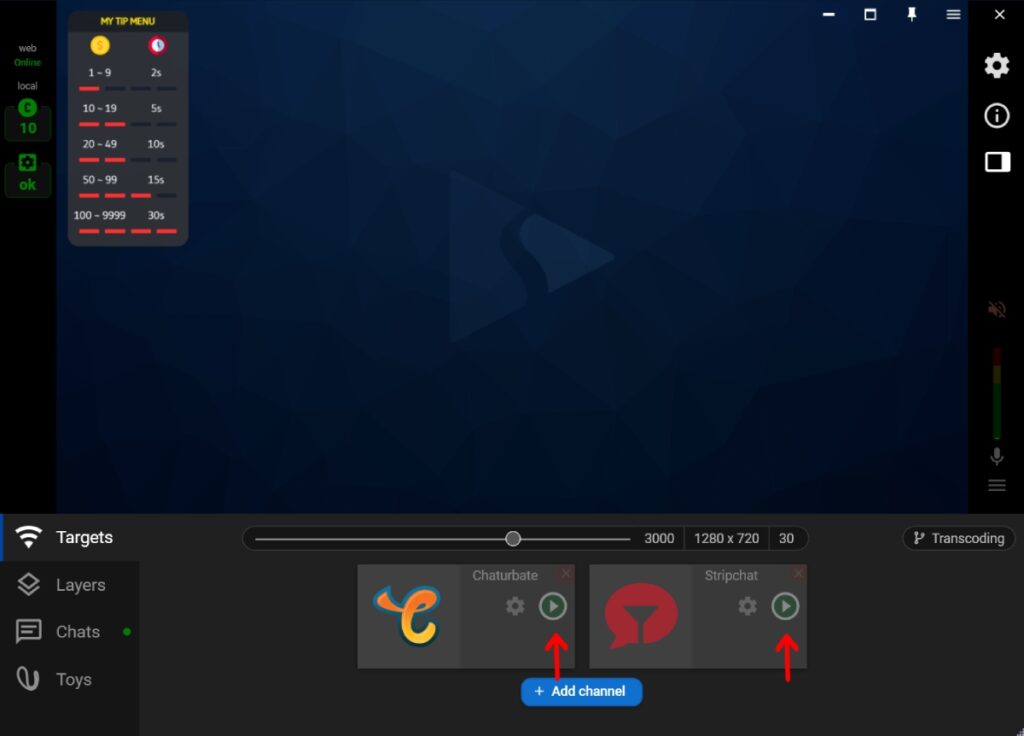
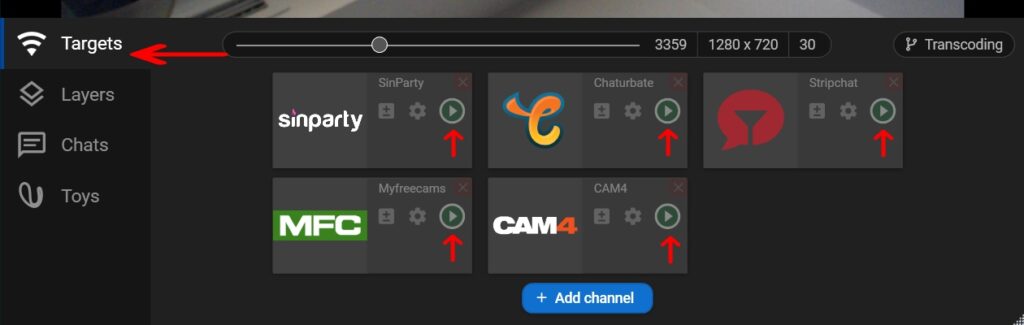
Step 21. To start the stream to the sites, go back to the “Targets” tab and click the “Play” buttons.
FAQs
Can it be used on multiple platforms simultaniously?
Yes, if all of these platforms support integration with Streamster app.
What happens if several members tipped the required for Tip2Peep amount?
If the required tip is received while the hidden cam is active, we extend its activity time. For example, if you set a 30-second Tip2Peep duration and receive a tip when it is active and 20 seconds are left, the activity duration is increased to 50 seconds. These changes are displayed on the Tip2Peep overlay countdown.
Can the hidden camera and the primary camera feeds be displayed at the same time?
Yes. When you set up your Tip2Peep layer, you can maximize the hidden camera tip to 100% of your stream: in this case, the hidden camera feed is shown instead of the primary camera feed. Alternatively, the hidden camera layer can take up less of the screen, so the part of the primary camera feed will be also visible.
Is setting up and displaying Tip2Peep overlay required?
No, it is optional. If you can tell your viewers about the possibility of switching the webcam with the tip in a different way, you can skip the overlay setup.
Can it work on platforms which are not integrated with the Streamster app?
Unfortunately, not. While the overlay may be displayed on any platform that supports RTMP streaming, switching the camera option doesn’t work on platforms except Stripchat, Chaturbate, MFC, and Cam4. Thus, we strongly advise against displaying the Tip2Peep overlay on supported platforms, as it may confuse viewers.
If you want Tip2Peep to be supported on any other cam sites, please let us know. We also recommend writing about your request to the platform’s support to boost the integration process.