Getting started
Articles
Creating a Business Account
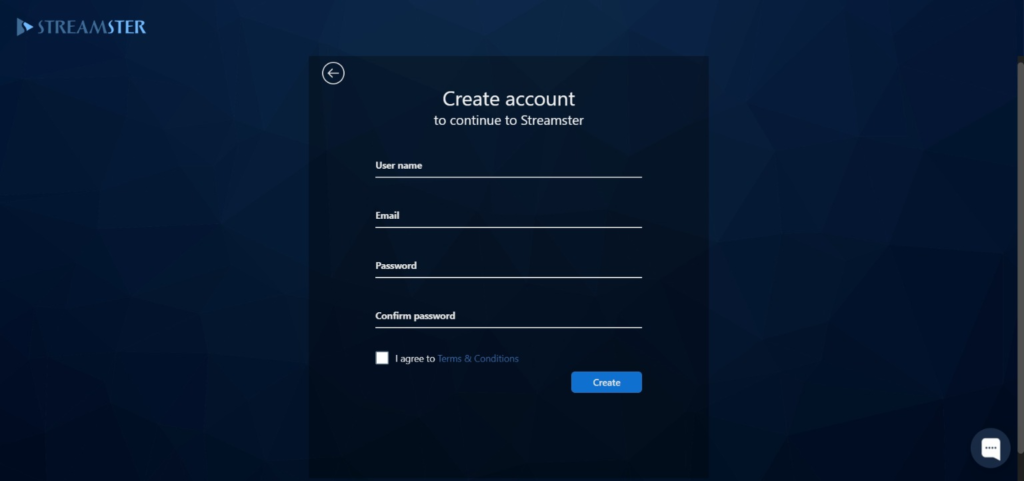
In order to create the business account, first you need to sign up with the Streamster individual account. Please fill out or registration form at https://app.streamster.io/register and click the “Create” button.
Once your account is created, please verify your email address and sign in to your account at https://app.streamster.io/
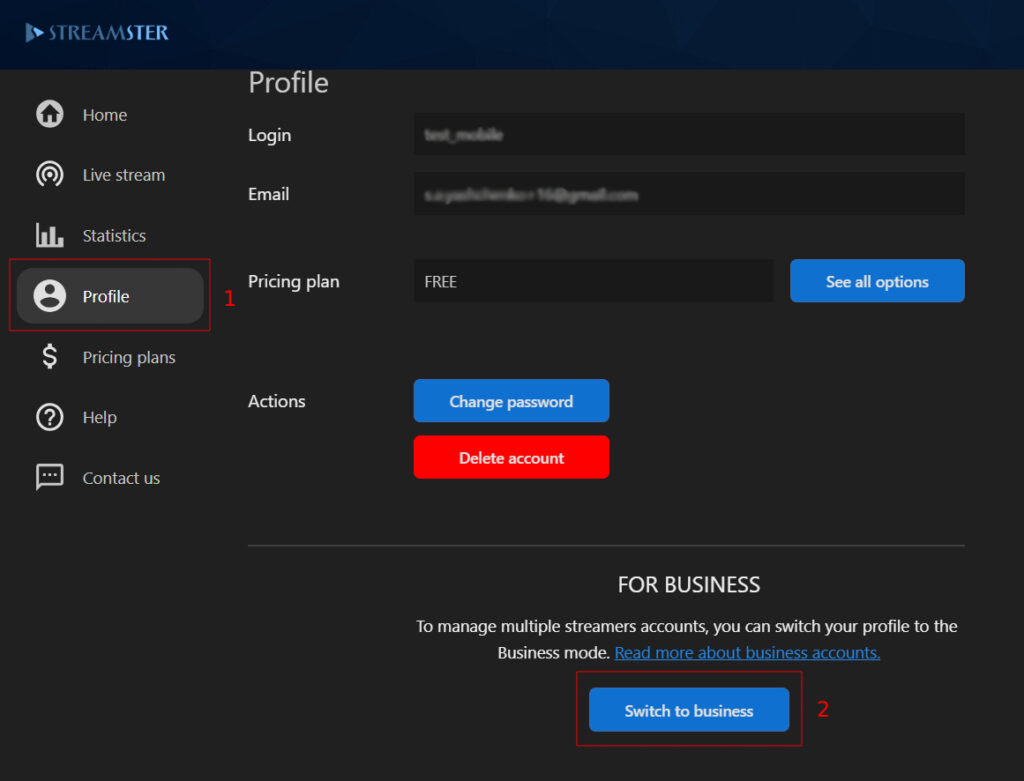
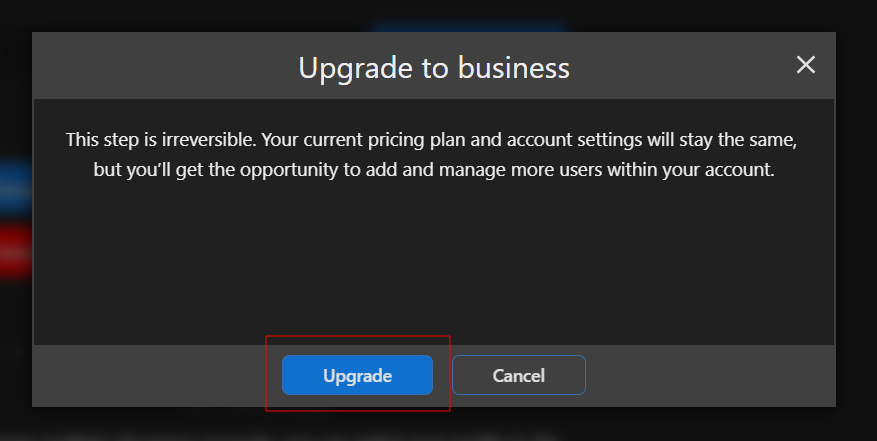
To switch your account to business type, go to the “Profile” section (1) and click the “Switch to business” button (2).
Confirm the transformation by clicking the “Upgrade” button.
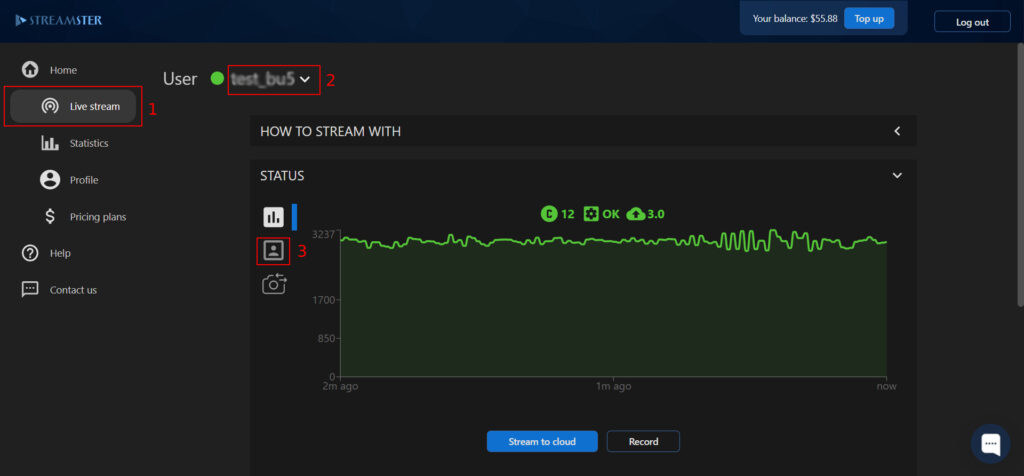
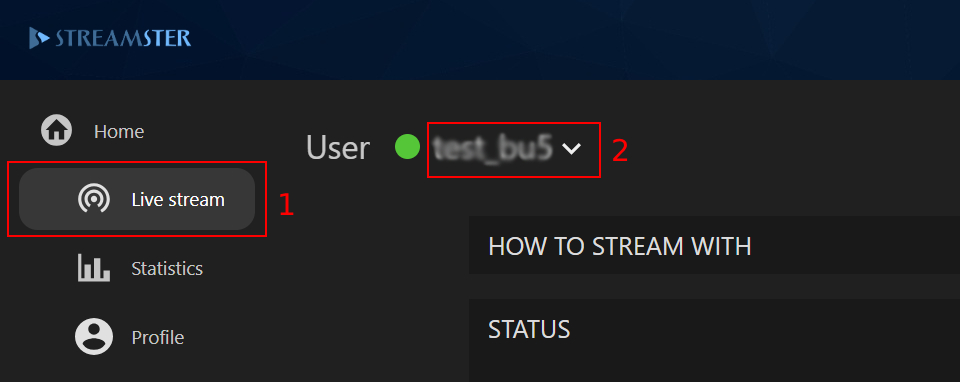
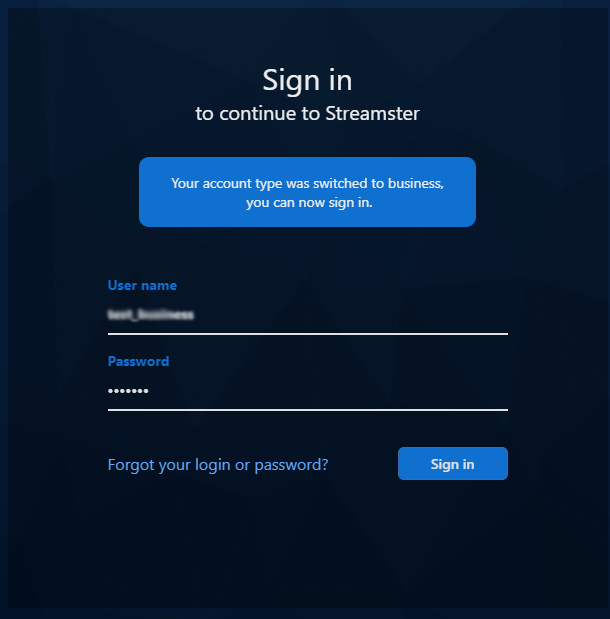
Sign in to your account to have access to Streamster Business Studio features.
Creating Accounts for Streamers
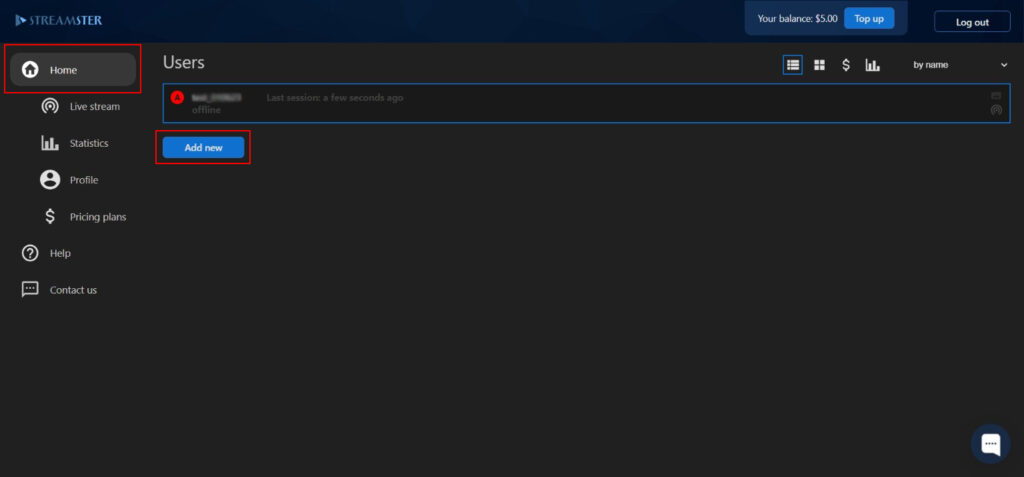
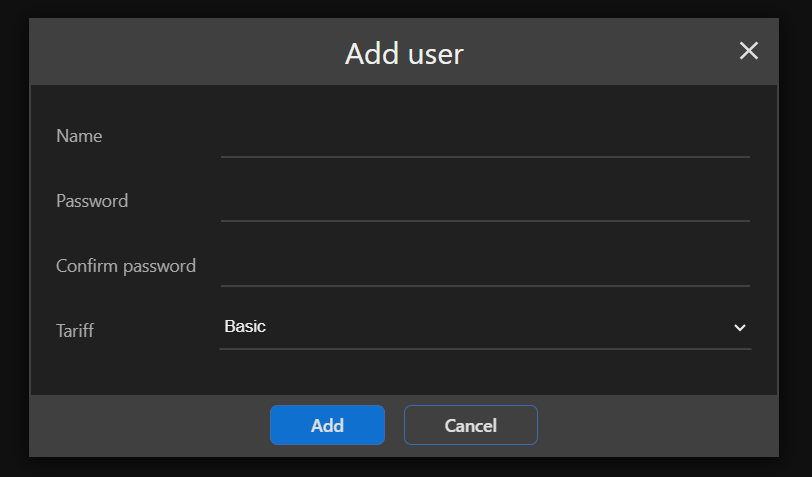
Step 2. Click the “Add new” button on the main dashboard under your user list.
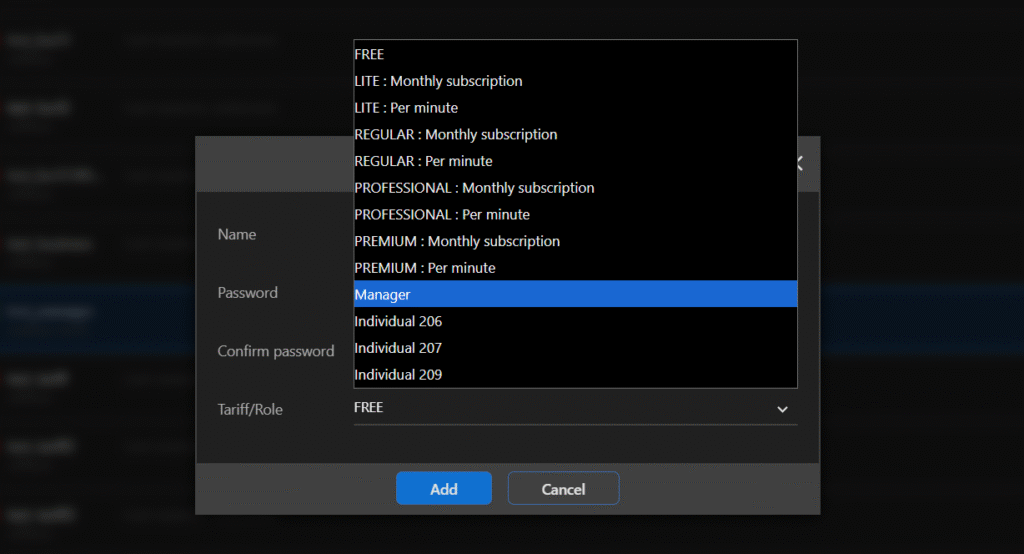
Step 3. Enter the username and password for the new user account. Please note, that the username should be unique among all Streamster users. Also, please select the pricing plan for the new user. It can be changed at any time later. Once all fields are completed, click the “Add” button.
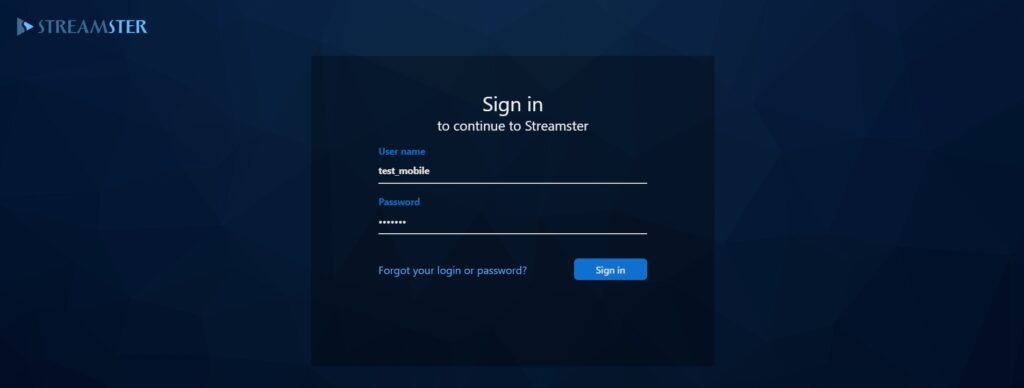
Step 4. Provide login credentials to the content creator. They may be used for Streamster desktop app, web app, or mobile app.
Starting Live Stream(s)
Once streamers’ accounts are created, they can start using it for multistream. There are several ways it can be done with Streamster:
1. Streamster desktop app. The all-in-one solution to create and broadcast the live video to multiple platforms at once. Using the Streamster desktop app by the content creator gives Business Studio admin more possibilities to control the stream.
To start using the Streamster desktop app, the content creator needs to download and install it. Once the user launches the app with the credentials provided by the Business Studio admin, the information about the stream is available in the Business Studio dashboard. More info about using the Streamster desktop app can be found here.
2. OBS or other streaming party software can also be used by the content creator together with the Streamster web app. In this case, the streamer broadcasts the live video to the Streamster server and manages streaming platforms in the browser as it is described here.
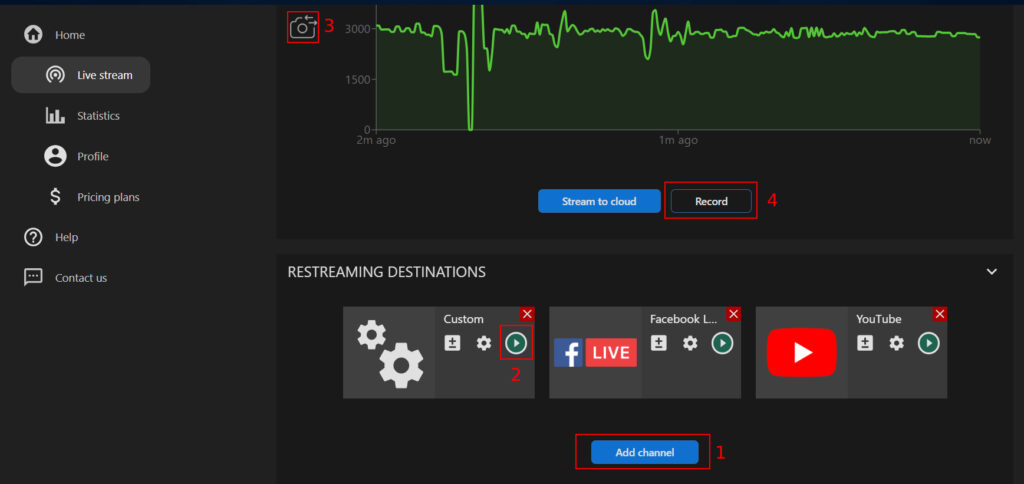
To start using the service, the content creator needs to log in to Streamster web app with the credentials provided by the Business Studio admin, set up streaming channels (otherwise, they can be set up by the admin), and start streaming to the Streamster server. After that, the live stream is available in the Business Studio dashboard to be monitored and controlled.
3. Streamster mobile app. The content creator also can use the mobile device as a live video source. Once it is downloaded from the App Store or Google play, the streamer can launch it with the credentials provided by the Business Studio admin to make the stream available in the Business Studio dashboard. More info about using the Streamster mobile app can be found here.