
Getting Started with OBS Studio
Part 1. Creating MyTipMenu Overlay
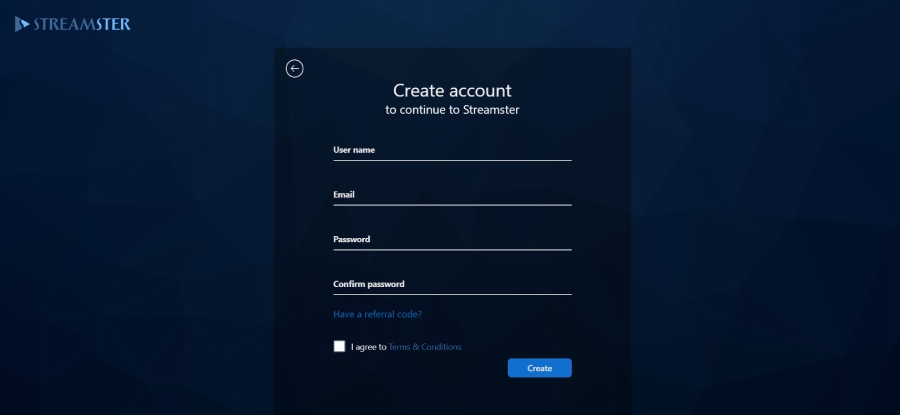
Step 1. Create a free Streamster account
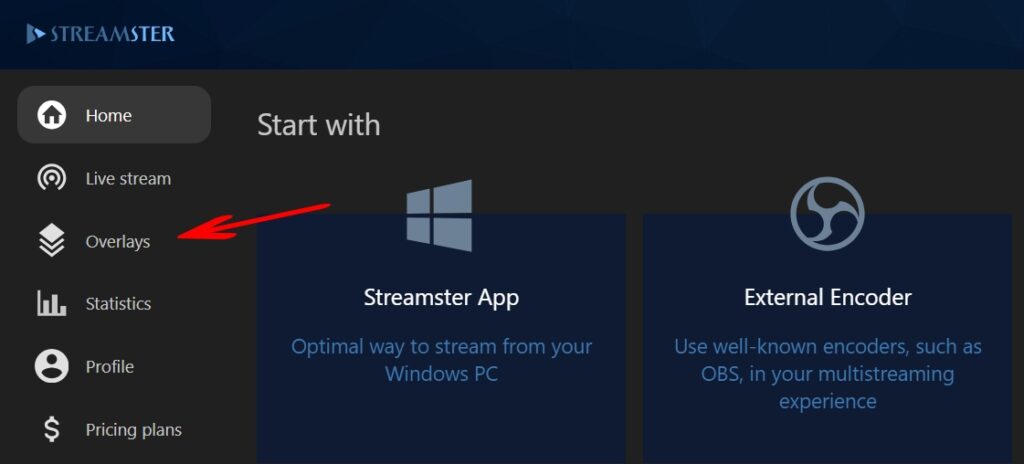
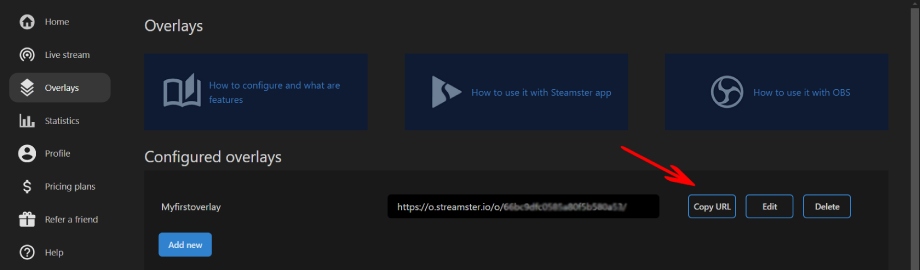
Step 2. Go to the “Overlays” section
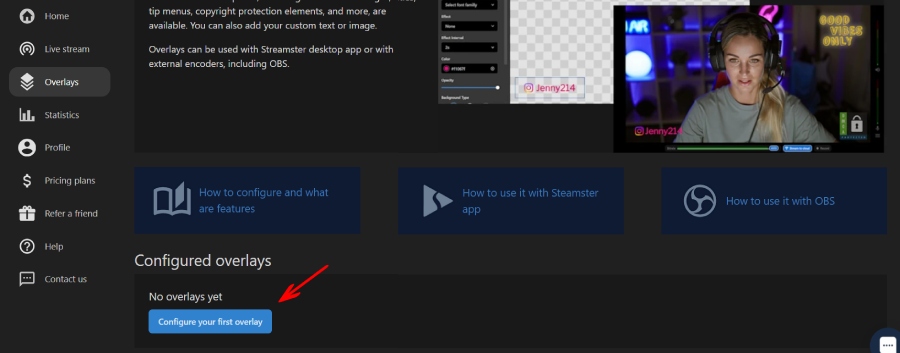
Step 3. Click the “Configure your first overlay” button to create an overlay for your live stream.
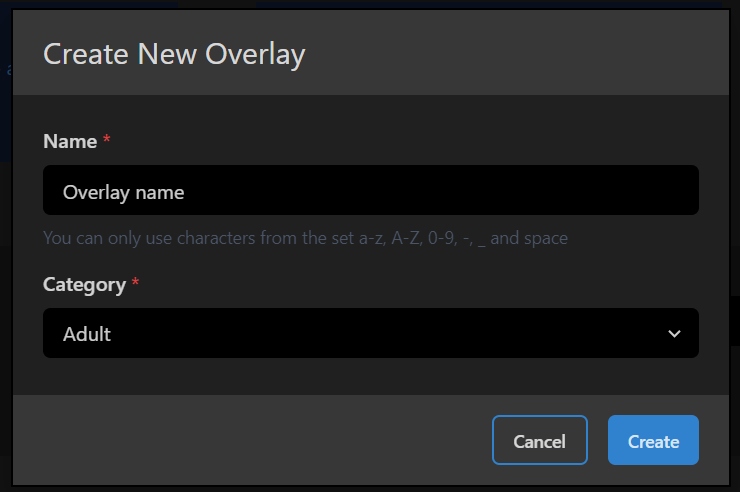
Step 4. Create a custom name for your overlay and select “Adult” as the overlay category.
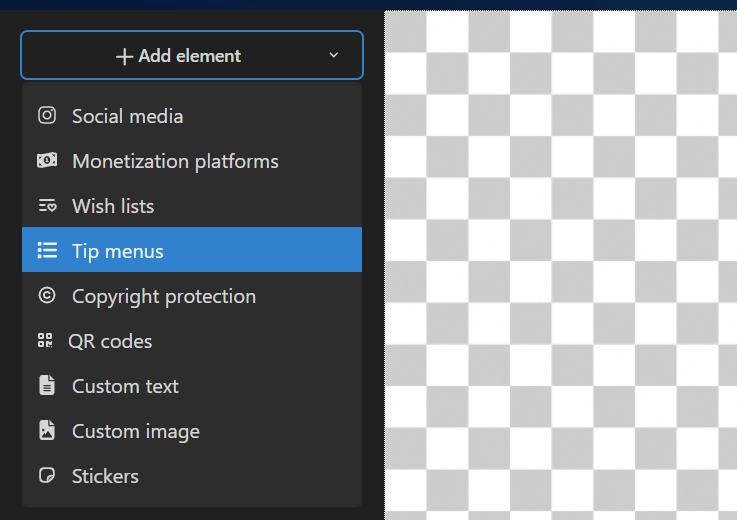
Step 5. Click the “Add element” button and select the “Tip menus” element type.
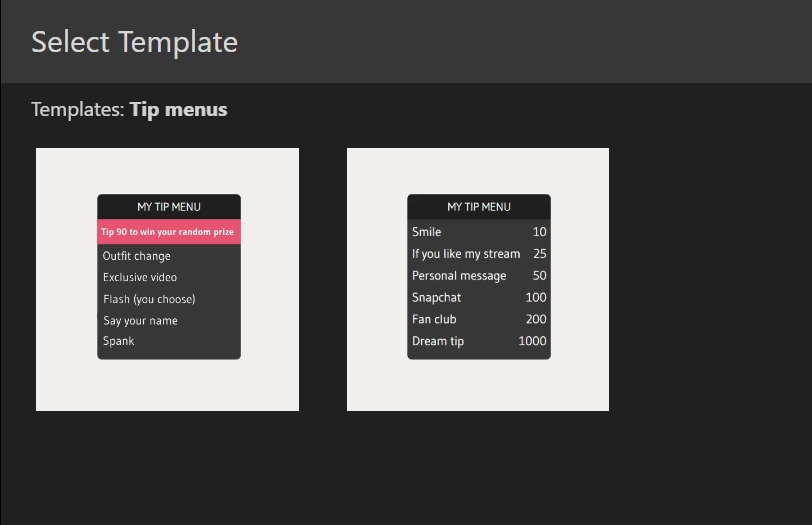
Step 6. Select the Classic tip menu or Random tip menu, and click the “Select” button.
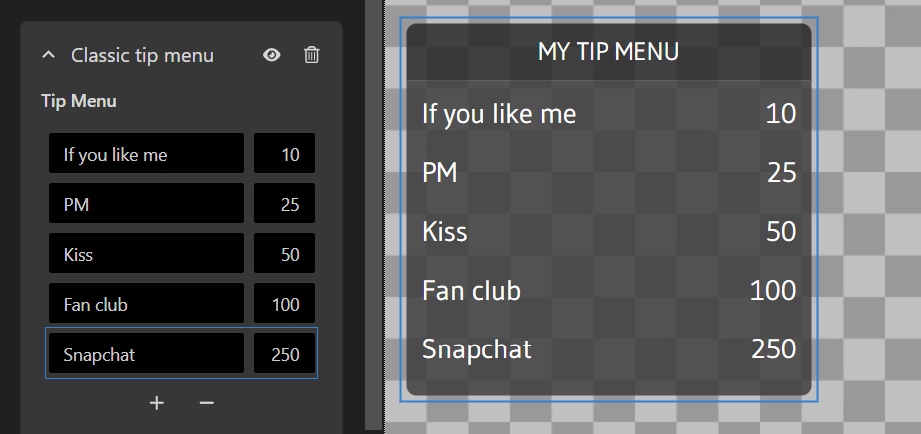
Step 7.1. Setup Classic tip menu content. In the left column, type the reward name. In the right column, type tips amounts. Use “+” or “-” buttons to add or remove rows.
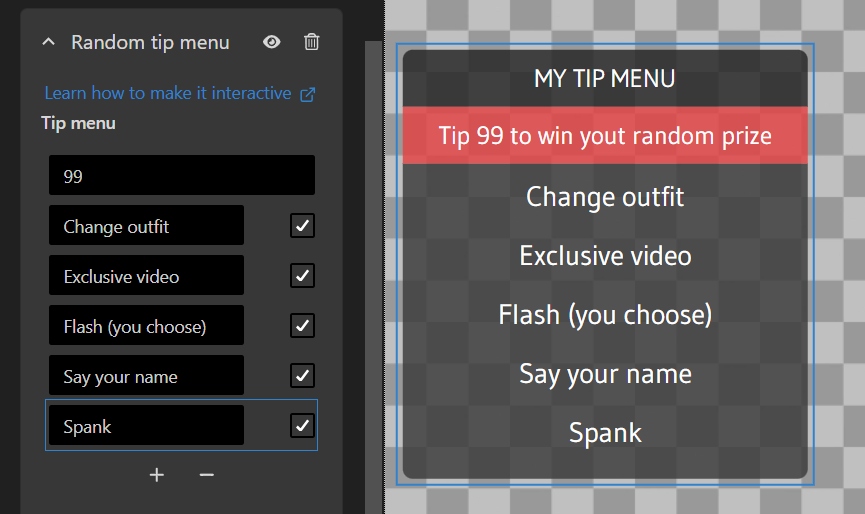
Step 7.2. Setup Random tip menu content. Use “+” or “-” buttons to add or remove rows.
Step 8 (for interactive MyTipMenu only): Set up the feedback duration, which is the time the specific reward is highlighted after the tip is received. Read how to set up an interactive overlay.

Step 9. Adjust other settings for the MyTipMenu overlay. Move it across the editor area or use the Position arrows to select its position on your stream scene. Change the Title color. Set the Opacity level and add an Outline if needed.
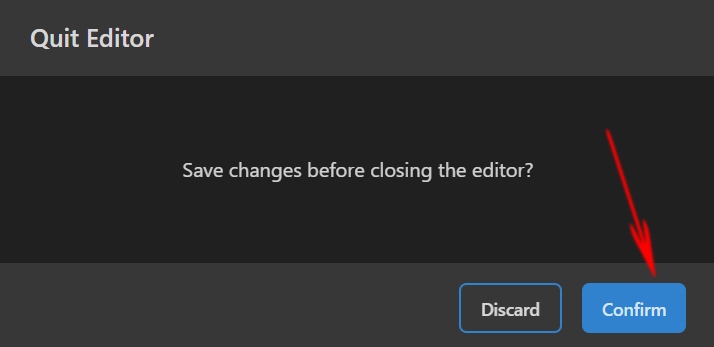
Step 10. Once the overlay is set up, click the “Exit” button and confirm saving the overlay.
Step 11. Find the link for your overlay and copy it.
Part 2. Adding MyTipMenu Overlay to OBS
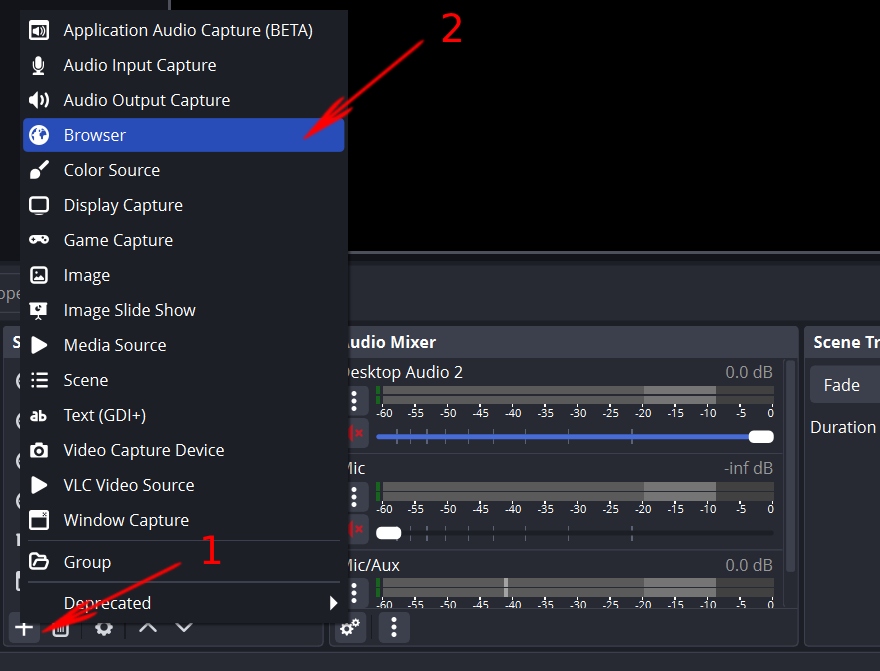
Step 12. Add a new video source (1) and select the “Browser” option (2).
Step 13. Copy your overlay URL (1). Set Width as “1920” (2) and Height as “1080” (3). Click the “OK” button (4).

Part 3 (optional). Making MyTipMenu Interactive
An interactive tip menu may be set up in the browser. Thus, you can use it when streaming with OBS or any other external encoder.
However, the initial setup requires Streamster mobile app or Streamster desktop app to authenticate on the platform.
Once the authentication is completed, the mobile (or desktop) app is not required to be opened any time to use the interactive tip menu. But it may be needed again later to re-authenticate.
Step 14. Add sites you want to use the interactive tip menu at as channels and authenticate there using Streamster desktop app or Streamster mobile app:
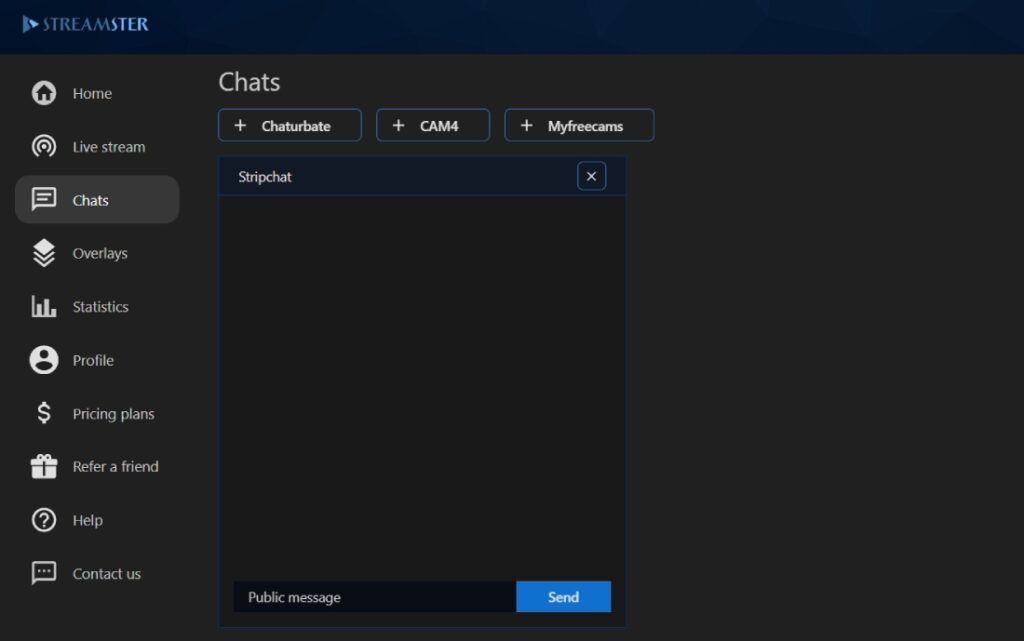
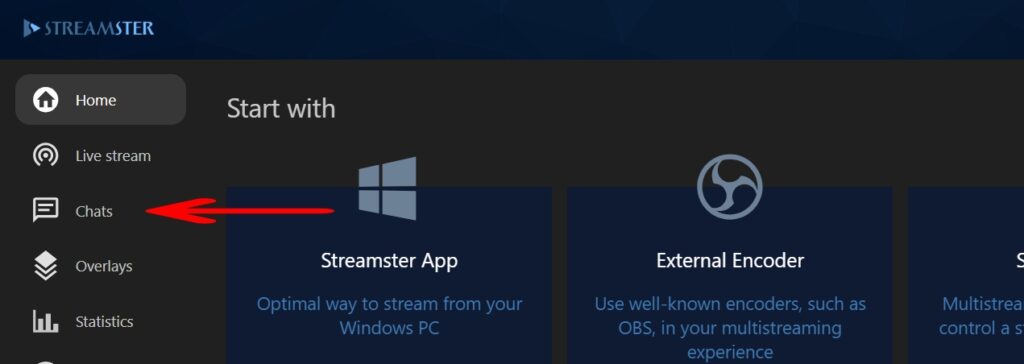
Step 15. Open https://app.streamster.io and enter the “Chats” section.
Step 16. On the top of the page, you’ll see all the channels with the interactive feature enabled, which were added previously. Click on each channel name to establish the connection for the interactive tip menu.

Step 17. If the chat window is displayed and no errors are shown, your interactive tip menu is set up successfully.