


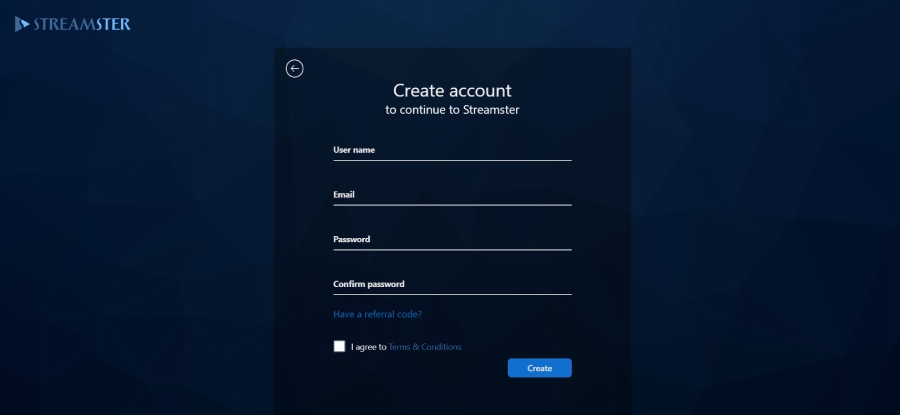
Getting Started with Streamster Desktop App
Part 1. Creating MyTipMenu Overlay
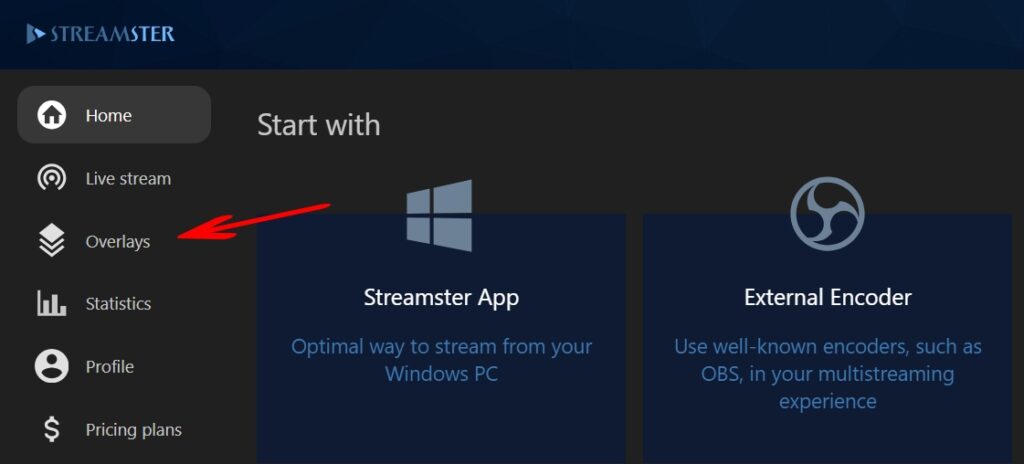
Step 2. Go to the “Overlays” section.
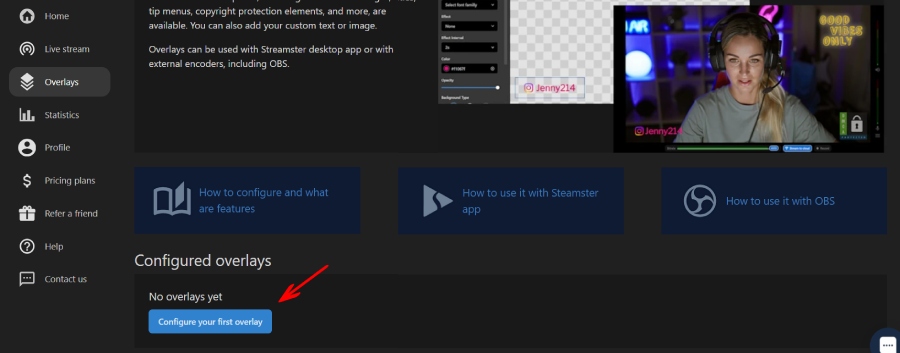
Step 3. Click the “Configure your first overlay” button to create an overlay for your live stream.
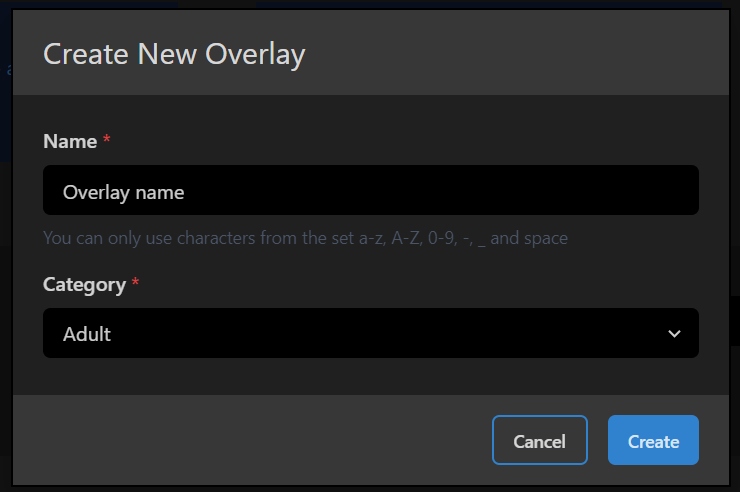
Step 4. Create a custom name for your overlay and select “Adult” as the overlay category.
Step 5. Click the “Add element” button and select the “Tip menus” element type.
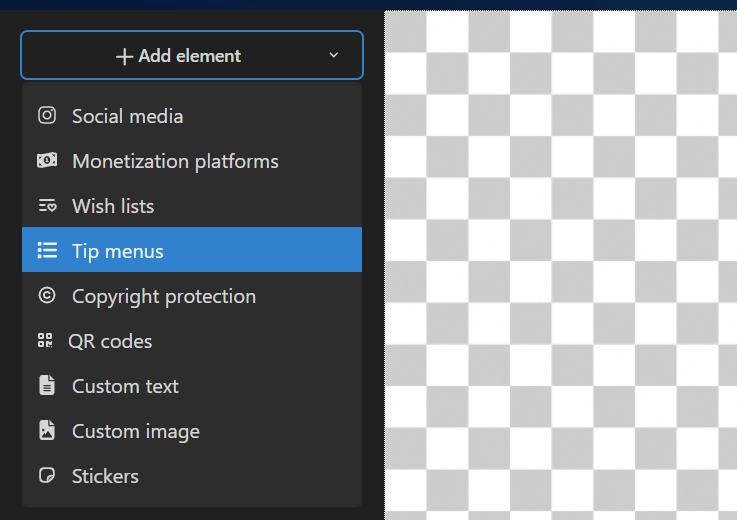
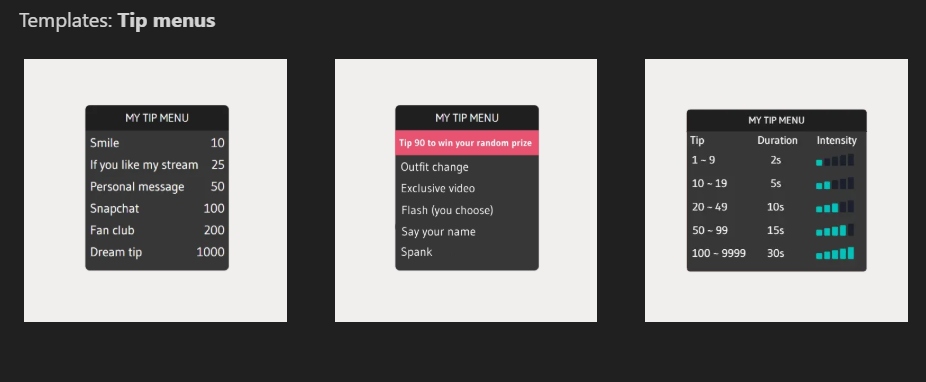
Step 6. Select the Classic tip menu, Random tip menu, or Toy tip menu and click the “Select” button.
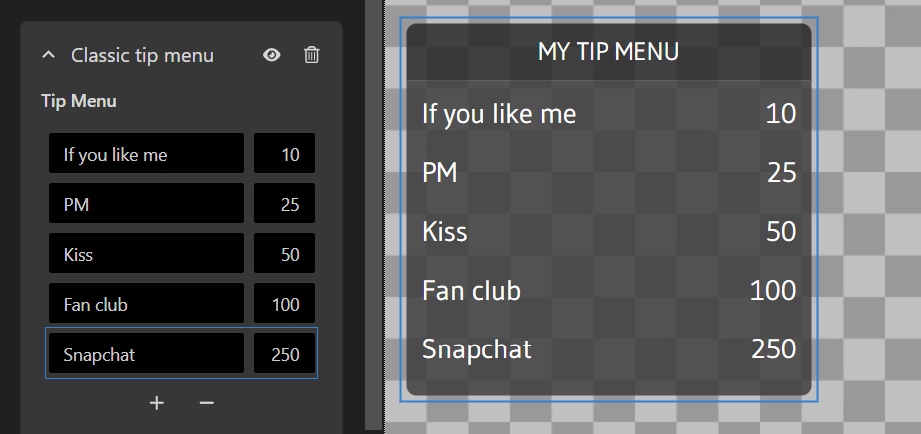
Step 7.1. Setup Classic tip menu content. In the left column, type the reward name. In the right column, type tips amounts. Use “+” or “-” buttons to add or remove rows.
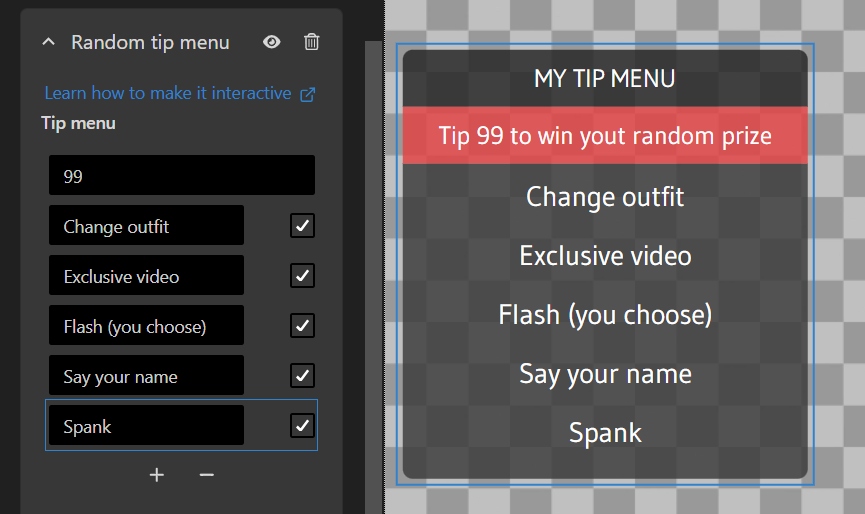
Step 7.2. Setup Random tip menu content. Use “+” or “-” buttons to add or remove rows.
Step 7.3. Use the Streamster desktop app to connect your toy and set up vibration levels. Learn more.
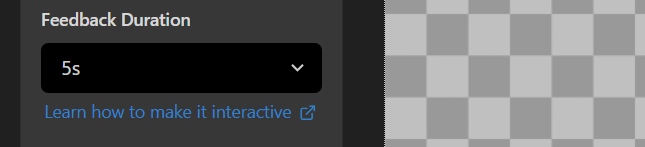
Step 8 (for interactive MyTipMenu only): Set up the feedback duration, which is the time the specific reward is highlighted after the tip is received.
Step 9. Adjust other settings for the MyTipMenu overlay. Move it across the editor area or use the Position arrows to select its position on your stream scene. Change the Title color. Set the Opacity level and add an Outline if needed.
Part 2. Adding MyTipMenu Overlay to Streamster Desktop App
Step 10. Launch Streamster desktop app
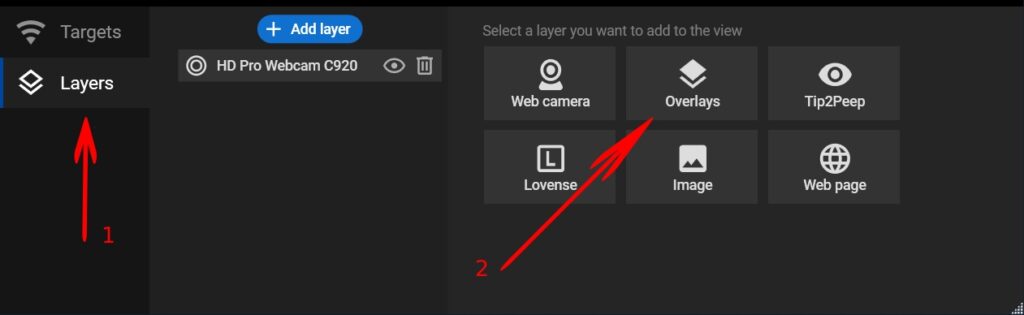
Step 11. Open the “Layers” tab (1) and click the “Overlays” button (2).
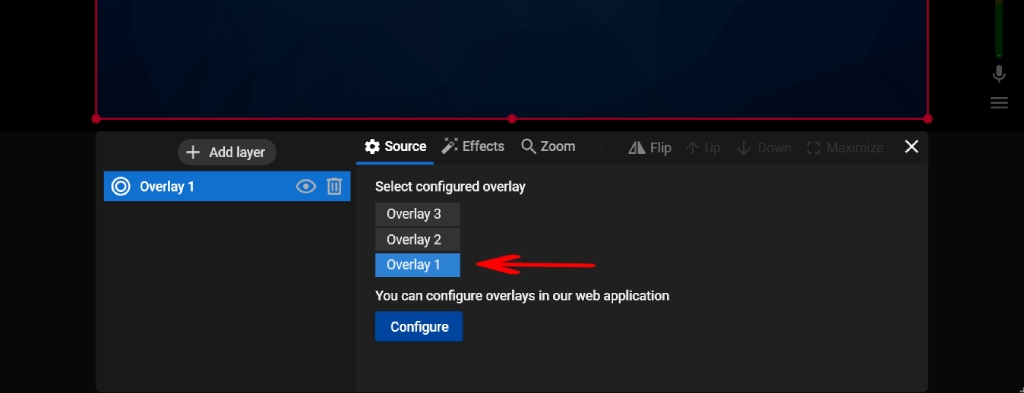
Step 12. Select your MyTipMenu overlay from the list.
Part 3. Making MyTipMenu Interactive
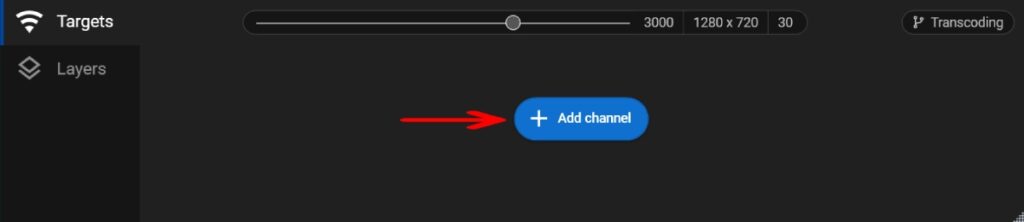
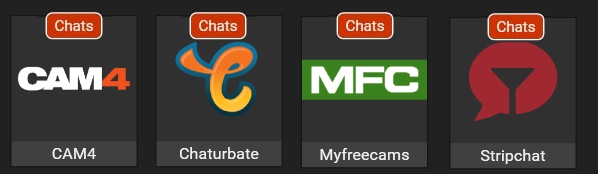
Step 13. In Streamster desktop app, click the “Add channel” button and select the needed site from the list. Platforms compatible with interactive MyTipMenu are marked with the red “chat” badge.
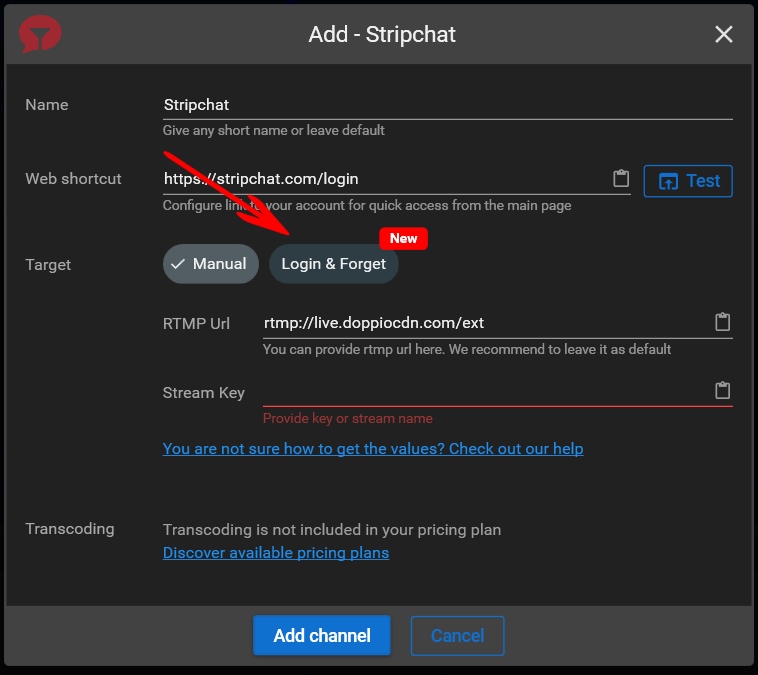
Step 14. Click the “Login & Forget” button (we choose Stripchat as an example, but it can be any available cam site).
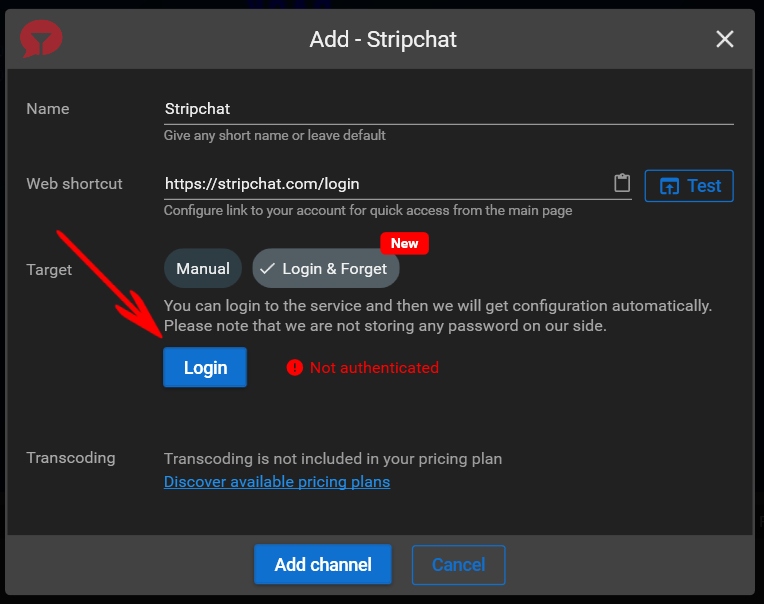
Step 15. Click the “Login” button.
Step 16. Log in to your account on cam site.

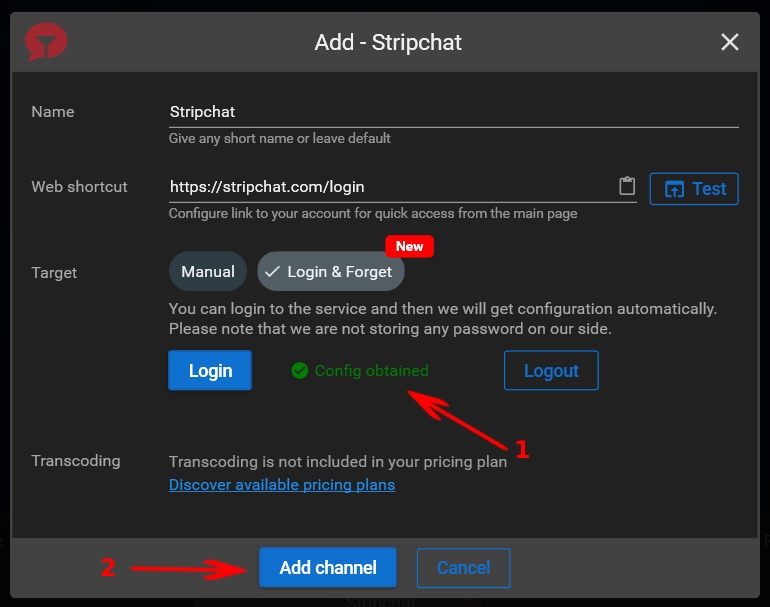
Step 17. If the connection was successful, the channel status will be changed to “Config obtained” (1). Click the “Add channel” button (2).
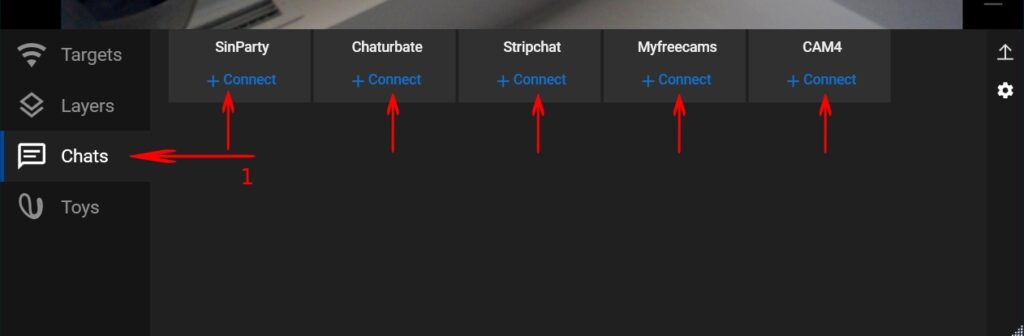
Step 18. Open the “Chats” tab and connect sites you want to use your interactive tip menu at.
Do not close the connection to the cam site in Streamster desktop app during your stream. Once you receive the tip corresponding to one of the rewards specified in MyTipMenu, this reward is highlighted for a selected period (Step 8).
